
With the drone of the sandblaster still ringing in my ears, occasionally subsiding to make way for the whirring noise of the wire wheel… I look back on the result of yesterday’s efforts. Hours of sandblasting and wire-wheeling have certainly been worth it!
With the help of Ren, we removed the motor from its frame and sat it gently on a rubber mat where I could continue working on it. I began by removing the pistons to address the millimetre of carbon build-up on the piston heads. By simply removing one circlip on each piston and pulling out the wrist-pin connecting each piston to the conrods, the pistons themselves were free and ready for rejuvenation.

Removing Piston Circlip
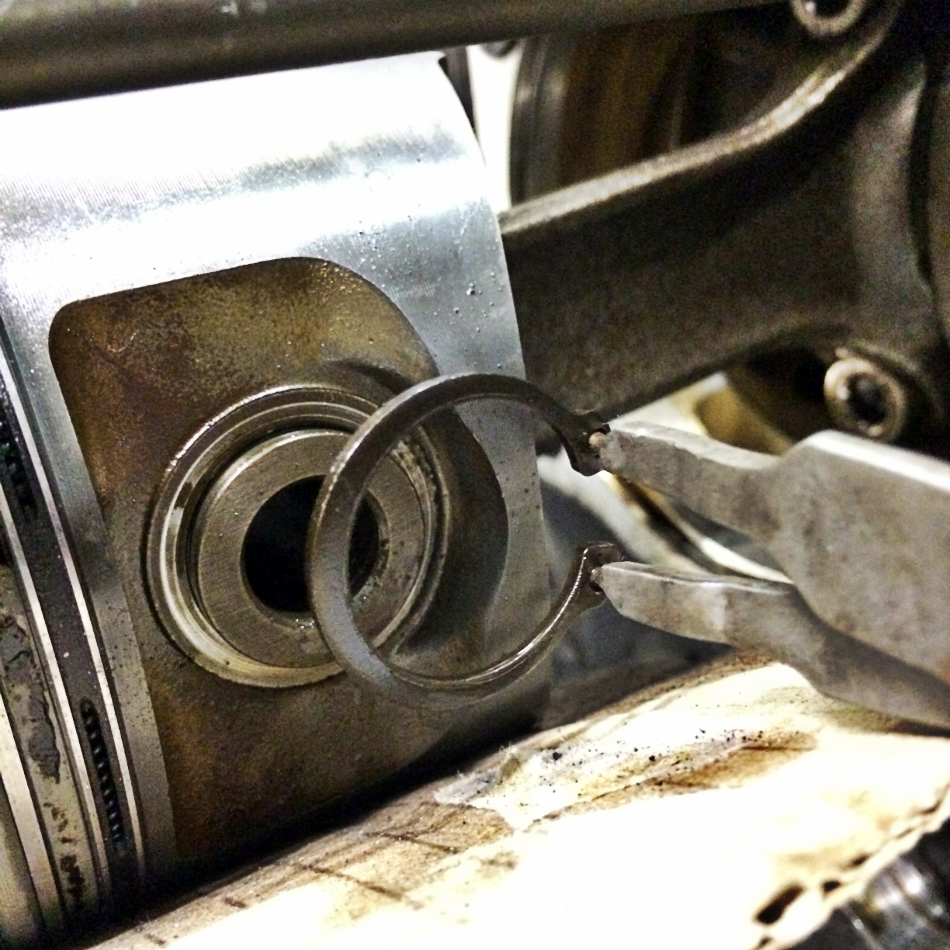
Removed Piston Circlip
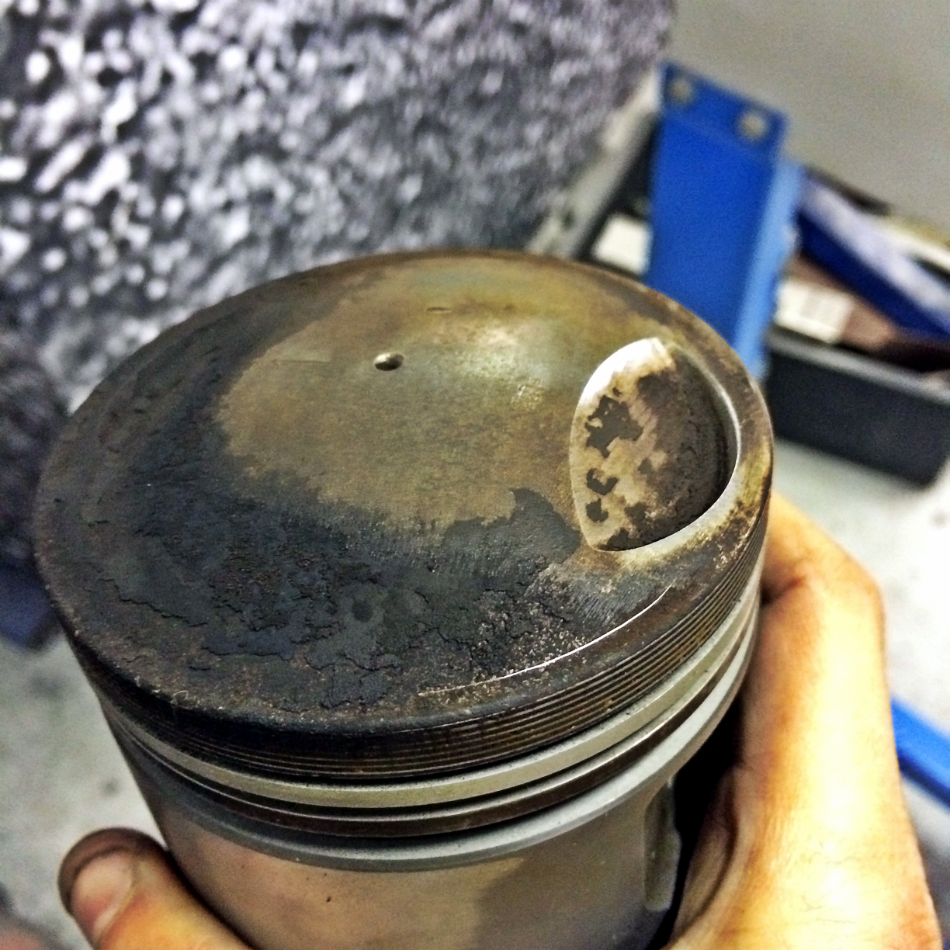
As you can see in the photo below, there was a fair load of carbon caked onto the piston head.
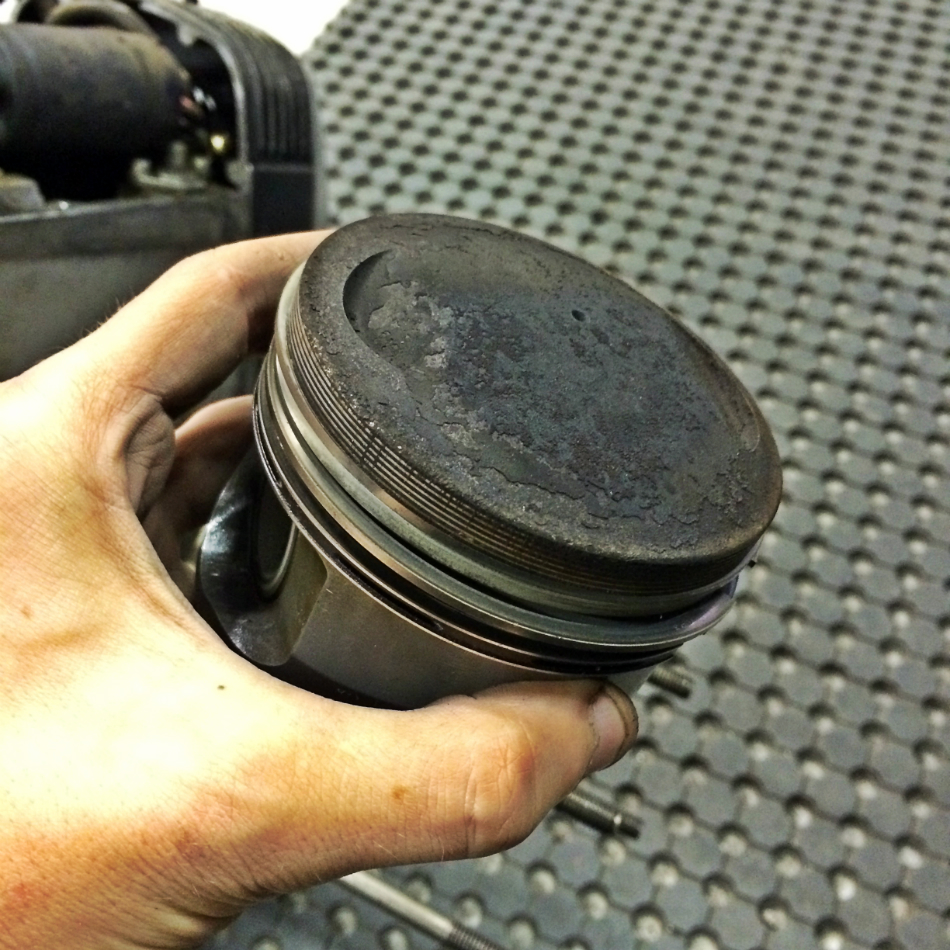
Filthy Piston Head
I proceeded to remove the piston-rings and oil-scraper ring on each piston, and with some gentle strokes got to cleaning the piston head on the wire-wheel.
Clearing Up The Carbon
Surprisingly soon after, I had the pistons looking a lot healthier. The pistons themselves are in rather good nick and so I will not be replacing them this time around. That said, I have a set of piston rings for both pistons ready to go after the motor is painted and undergoing its rebuild.
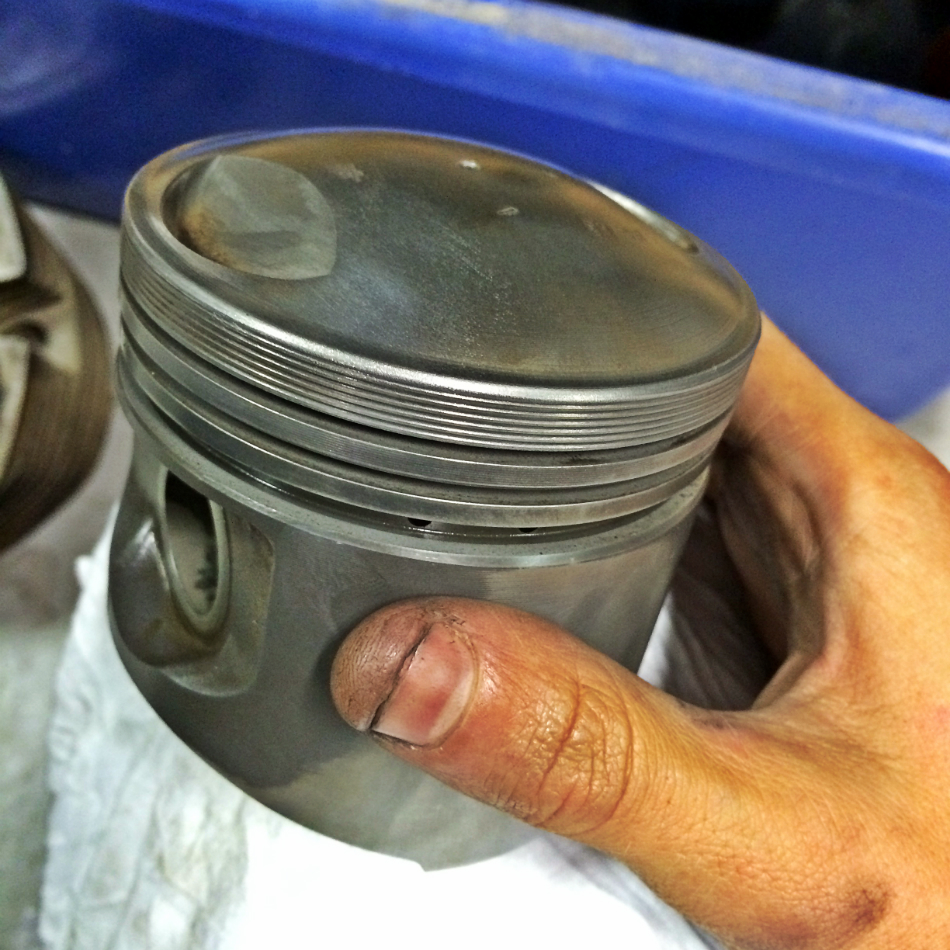
Clean Piston

Rejuvenated Pistons
With the pistons cleared up, I turned my attention to sandblasting the various parts of the motor that needed sandblasting prior to painting later in the week. I began with the cylinders themselves as I wanted to see how the cooling fits turned out after copping a face full of sand.
To my immense satisfaction, the sandblaster worked its wonders and the fins cleared up beautifully. Further to this, the insane amount of grime, oil and dirt buried and cooked deep within the fins peeled away effortlessly.
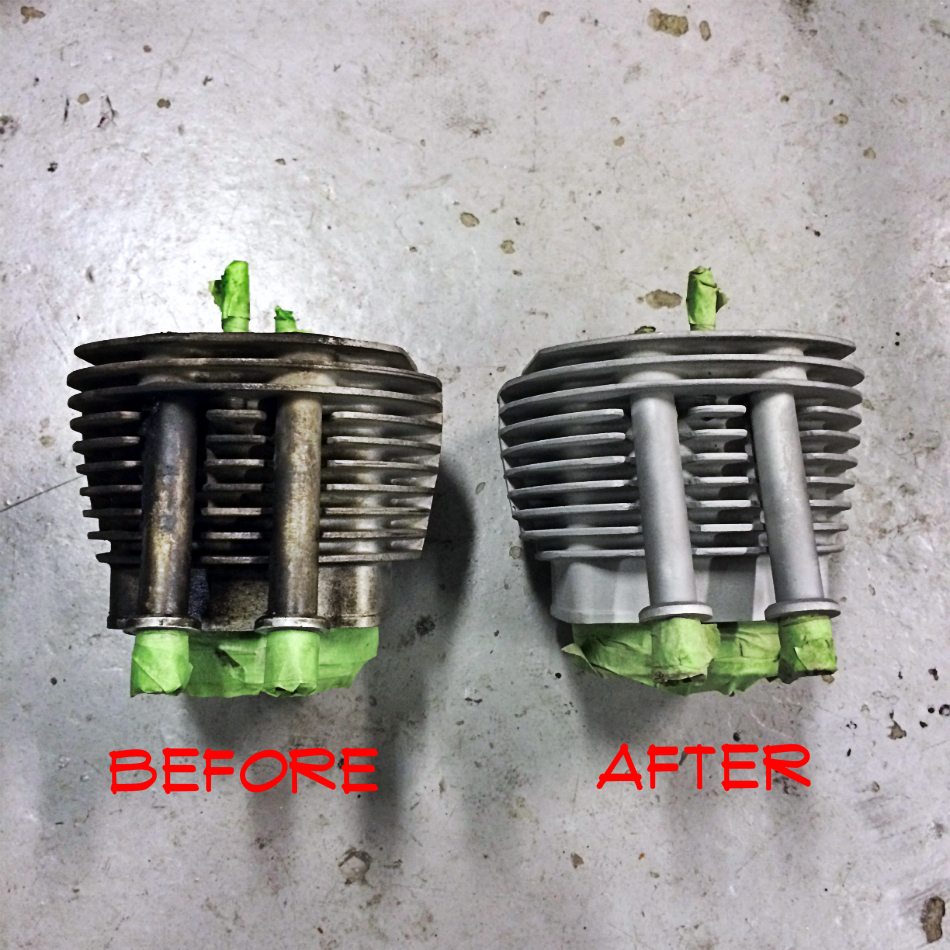
Cylinder Sandblasting Before & After
It took a little while to get to all the deposits of crap present on the cylinders’ fins, but I got there eventually.
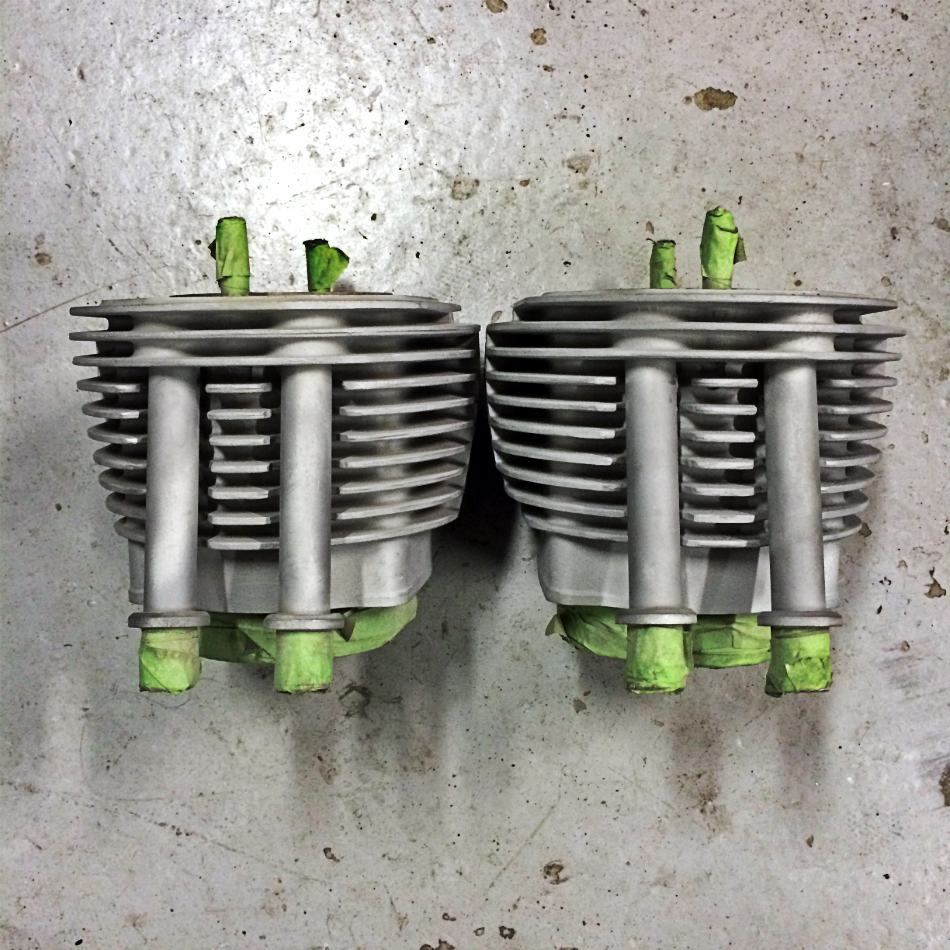
Pushrods Sandblasted
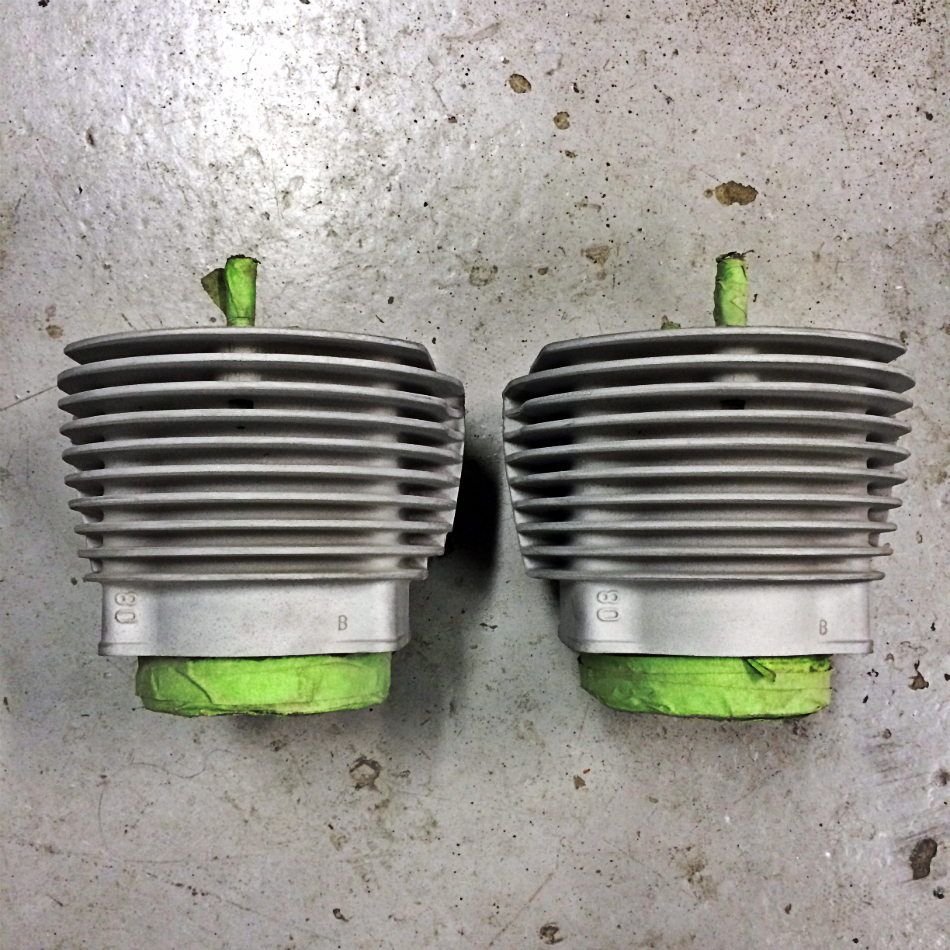
Cylinders Sandblasted
In order to ensure that painting my motor is as simple as possible, I devised a plan to piece the motor back together in its freshly prepared form. With all the pieces sitting as they should, I would only need to tape up a few sections that I didn’t want painted, rather than the multitude of exposed openings that exist with the motor disassembled.
I have gone ahead and started with this plan in mind. The cylinders are now reinstalled temporarily for painting. I made sure to wrap the conrods in cloth to ensure that they don’t scratch up the piston sleeves on the interior of the cylinder during this process.
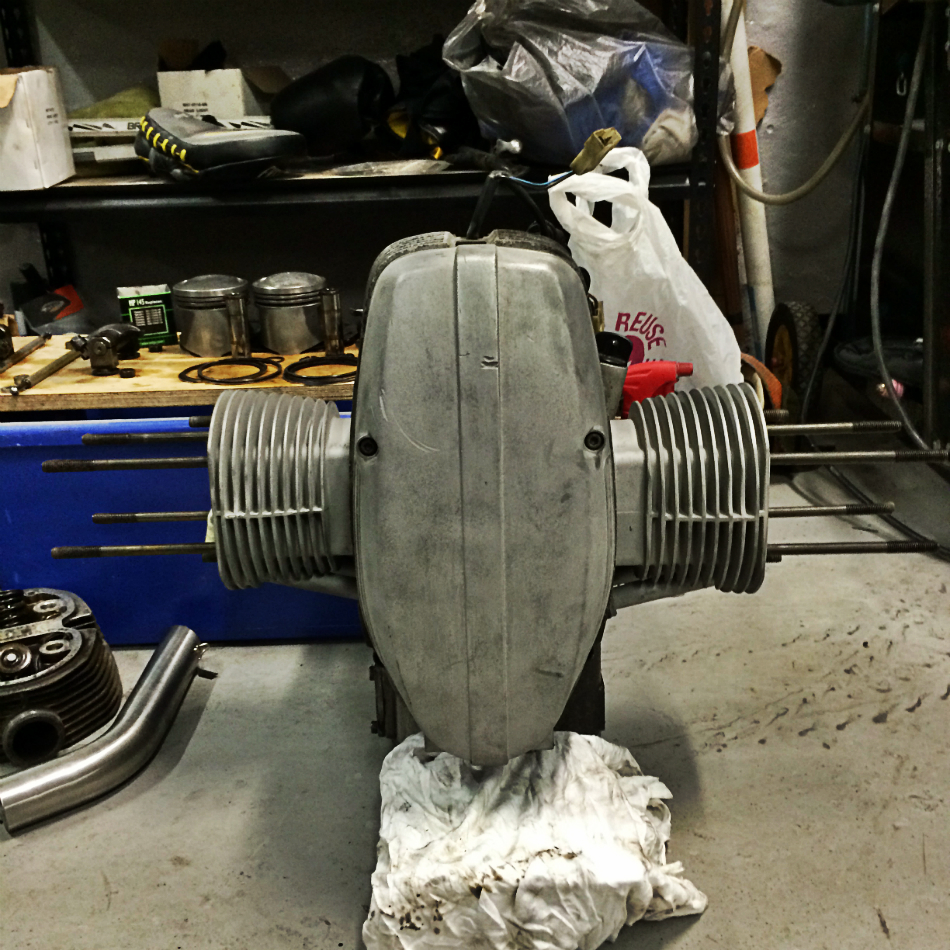
First Stage Of Paint Preparation Complete
I’ll be prodding away at the remaining bits later today, so you can expect an update very soon!