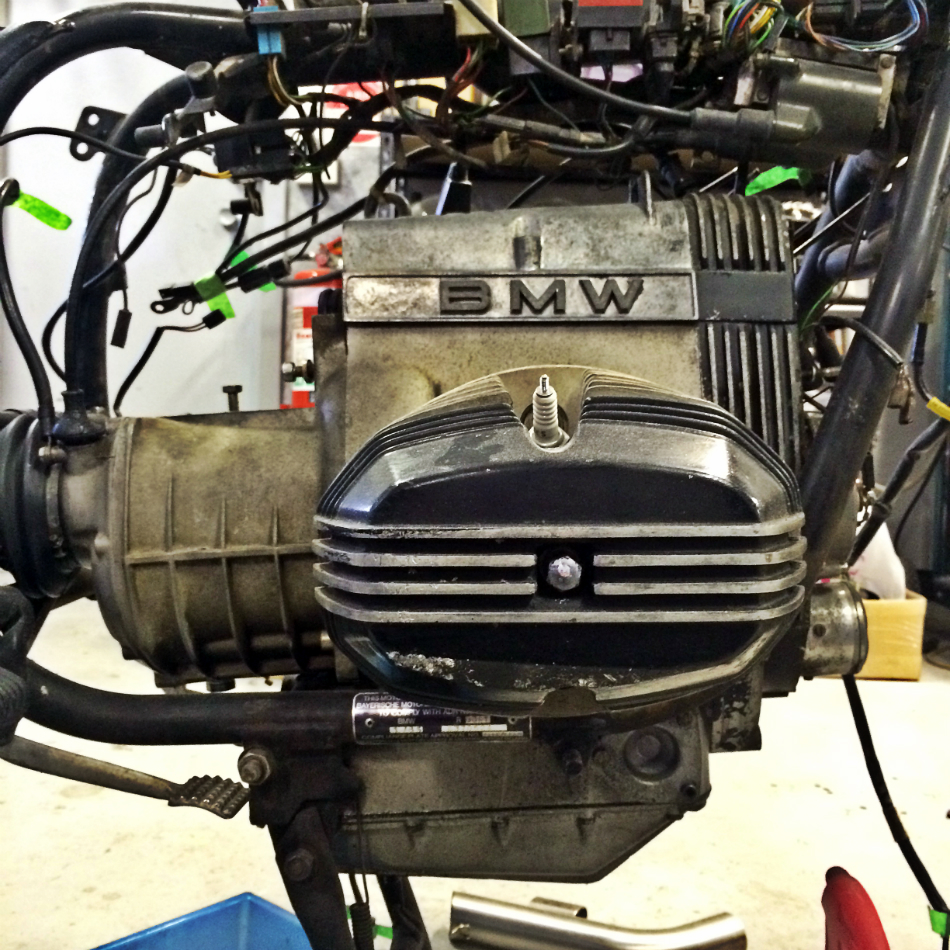
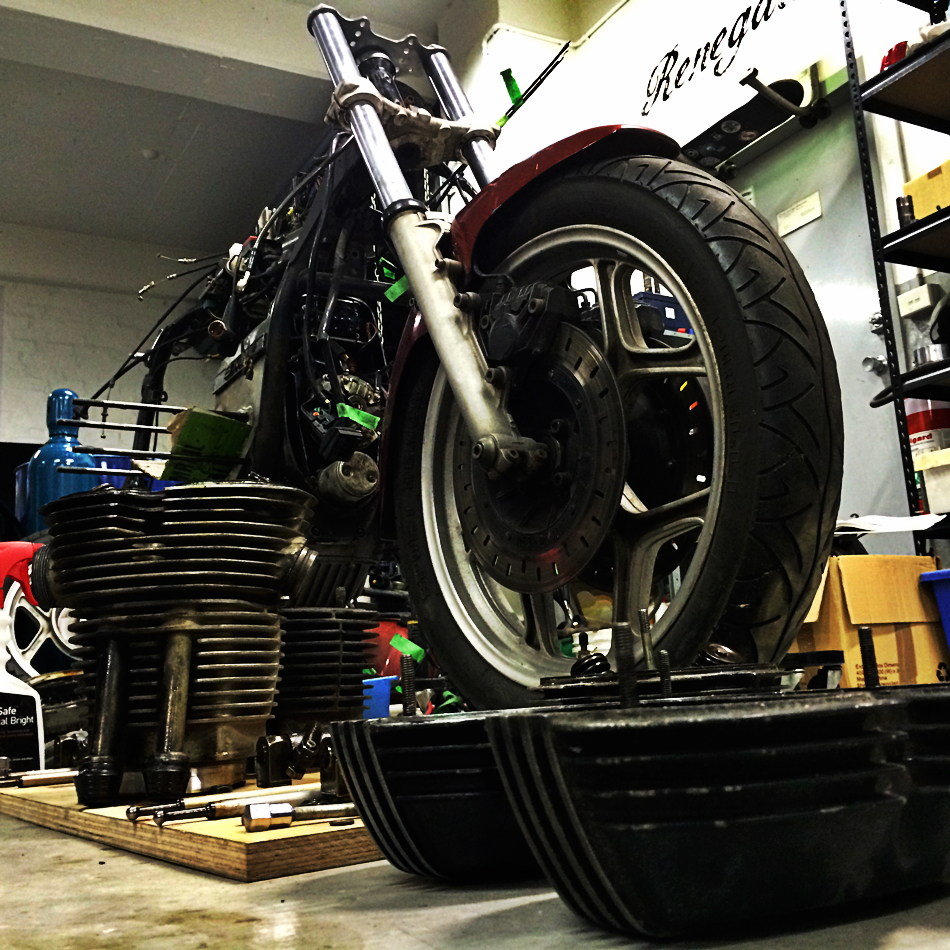
Biiiiiig weekend of motor disassembly. Most of the weekend was spent carefully draining oil, loosening fasteners and pulling apart the motor on my BMW R80. In order to ensure that everything finds it’s way back together and so that I have some manky pictures for comparison when she’s done, I documented the process below. I have decided that I want to paint the full motor a satin black (on the flatter end of the spectrum), with motor features appearing as polished metal with stainless steel fasteners as highlights.
The motor needs a fair bit of preparation for the above paint layout, so it is necessary for me to remove the motor from the frame.
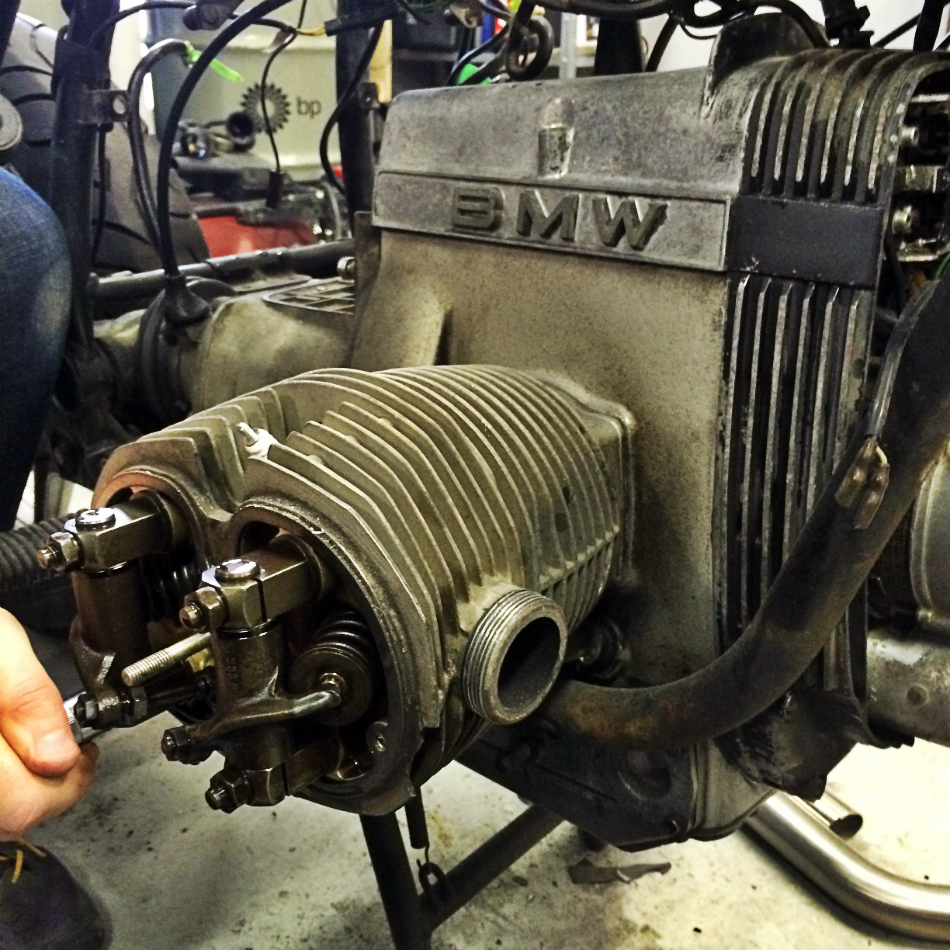
Looking oily, gritty, and generally tired, the motor needed to come apart. First on the list were the rockers:
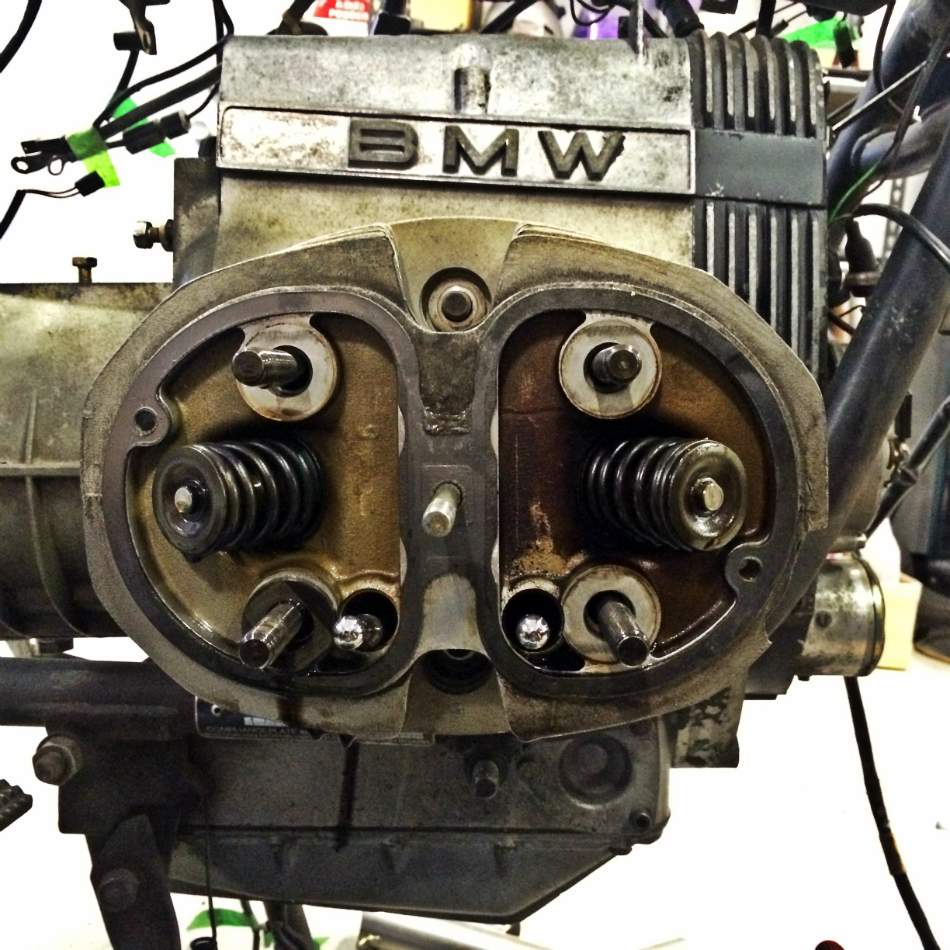
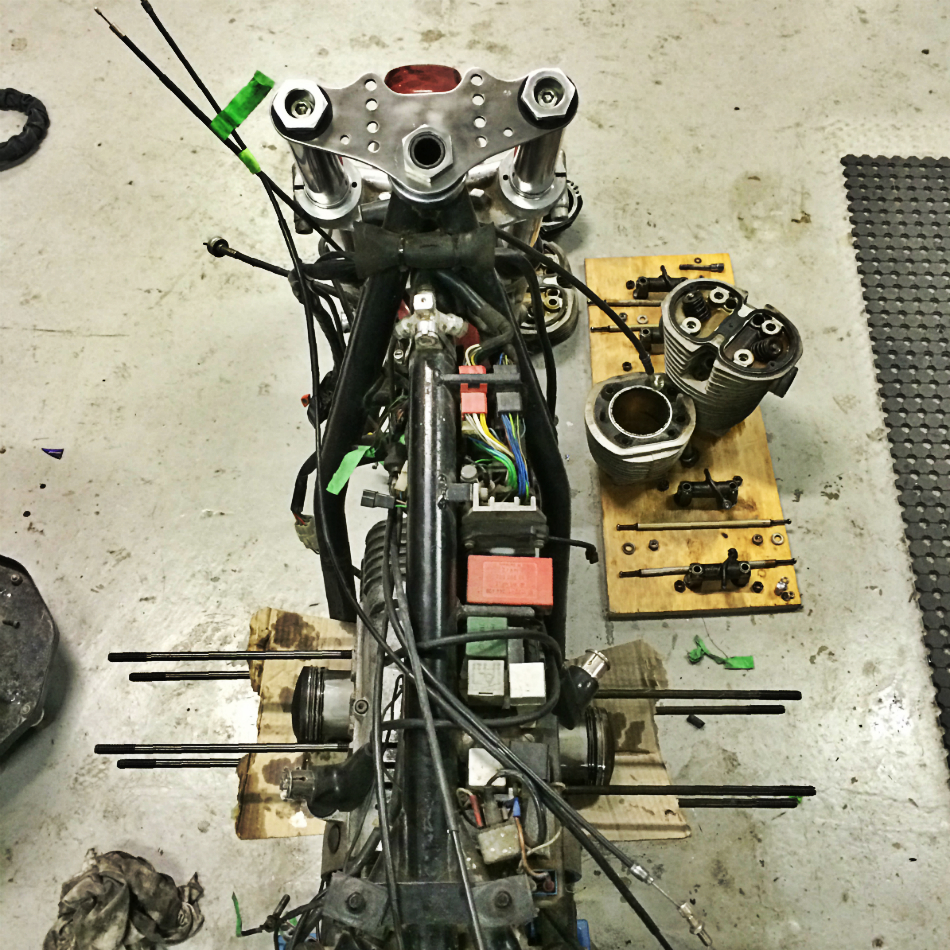
Immediately following the removal of the rockers, we got to removing the rocker shafts and pushrod/tappets. With a little gentle encouragement, they came free.
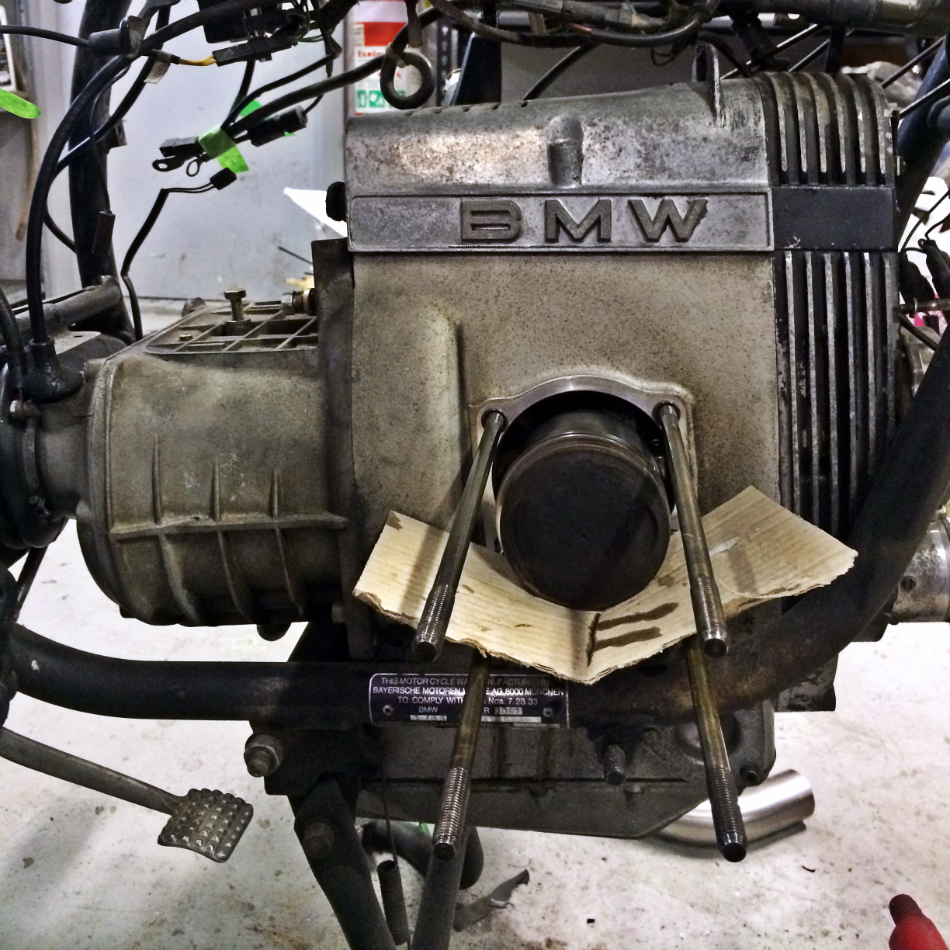
The two-piece head was a little harder to separate. The valve section of the cylinder head and the cylinder section itself were stuck together quite convincingly and required a once over with the rubber mallet. Soon enough, the head was liberated and the piston sat freely on a piece of cardboard placed to suspend the piston to avoid damaging the piston rings (which I’ll be replacing anyway!).
We repeated the process for both cylinders and moved our attention to removing the transmission. In order to get at the transmission, we had to detach the drive shaft, and to get there we needed to remove the rear wheel/drum. This wasn’t really a hassle since a tonne of the rear section would need attention in the near future anyway.
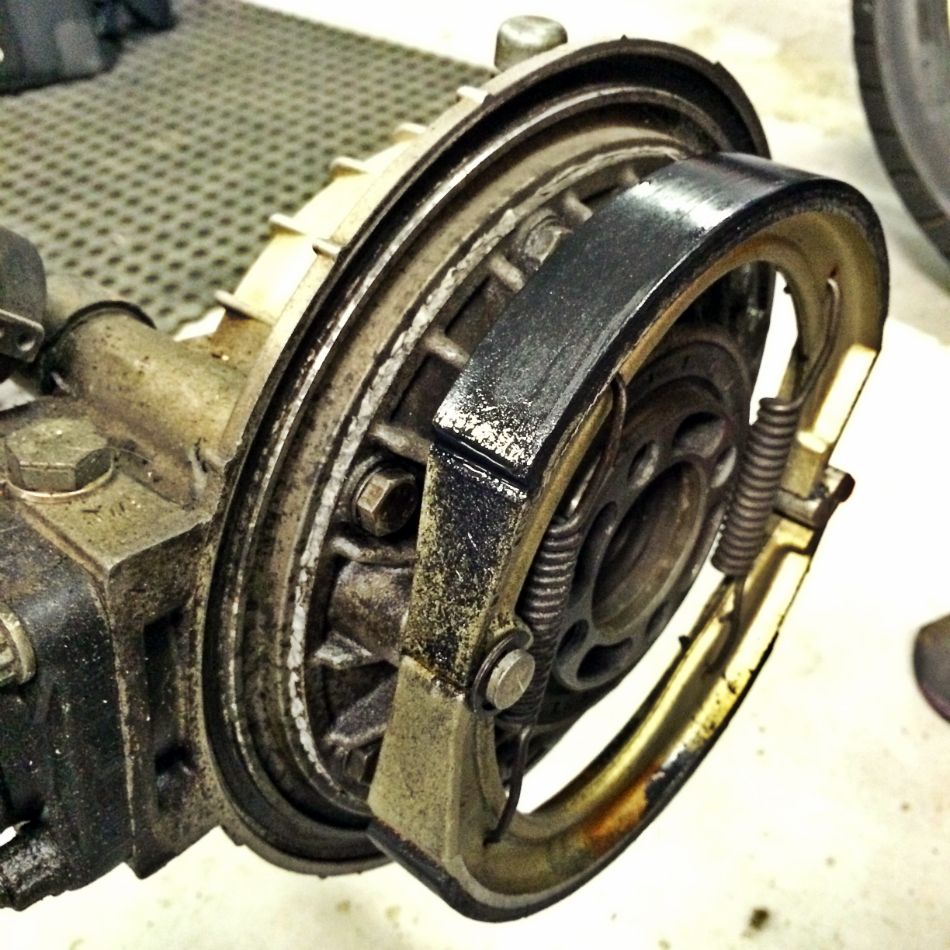
After removing the rear wheel and exposing the brake shoes, we found rather large quantities of oil lacing the braking surfaces themselves – these brakes would have achieved nothing in their current state! But that’s a battle for a later date.
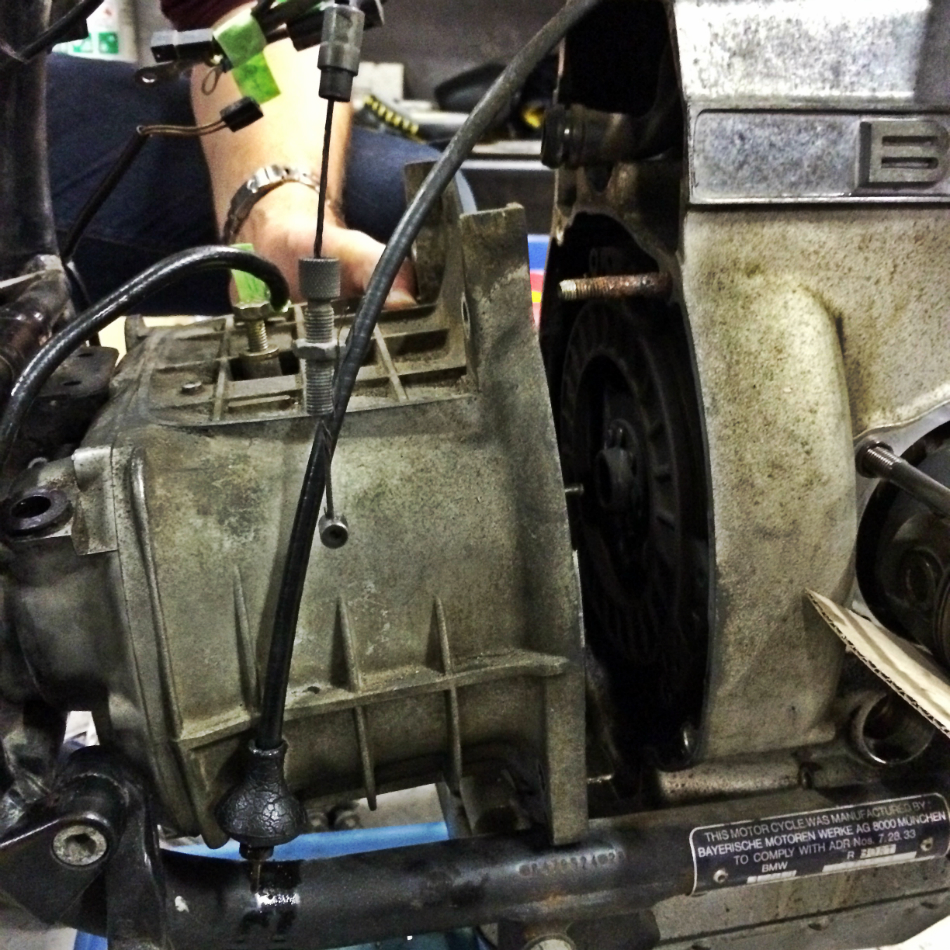
After a bit of a battle, the drive shaft was removed, and so too were the bolts holding the transmission to the bottom end. We then proceeded to remove the transmission unit from the frame and set it aside for sandblasting during the week. It is truly astounding (in an awesome way) to think how incredibly simple, robust and modular these motors are!
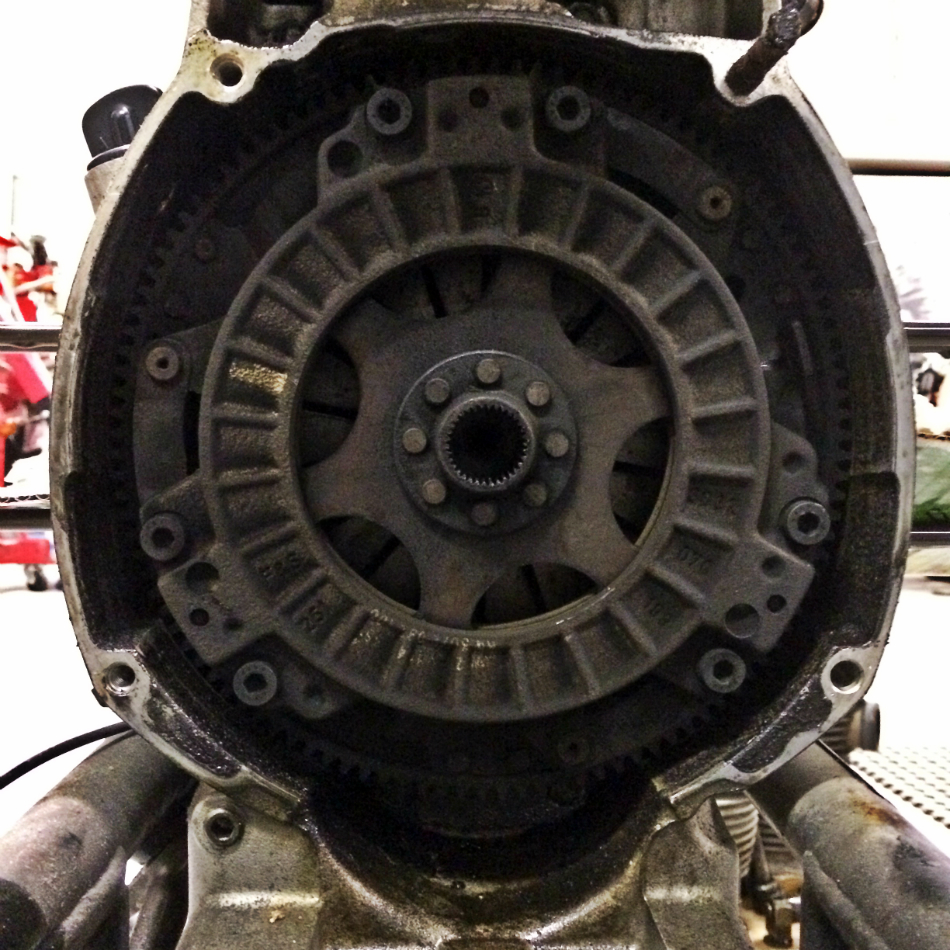
Peering into the dirty interior of the BMW R80 bottom-end, the clutch plates stood covered in age old grit. It was nice to see each of the parts that would be getting replaced – the cruddy clutch situation will look quite the opposite once the replacement parts are installed.
With the drive shaft and transmission cleared, the top-end removed and the oil drained from the sump, the next stage is to remove the motor from the frame. I intend to have the motor completely removed from the frame tomorrow evening. Once removed, I will be attacking the smaller (manageable) parts with the sandblaster, the bigger parts with Scotch-Brite/degreaser and making final preparations for the painting stage. I’m hoping to have the motor in for paint by the end of the week and ready for it’s rebuild starting the week following this one!

