In an effort to stop myself from rewriting the BMW R80 user manual, I’ll try and keep this post image-heavy. I’ve got a rather large backlog of posts I need to write up relating to the BMW R80 project, so I’ll be aiming to fire these off at least once a day.
My last post related to reinstalling the motor itself and having done that the next stage was to rebuild the clutch and reinstall the gearbox. Sam kindly assisted through this process (he’d run through the exact process on his own BMW R80 a few months ago).
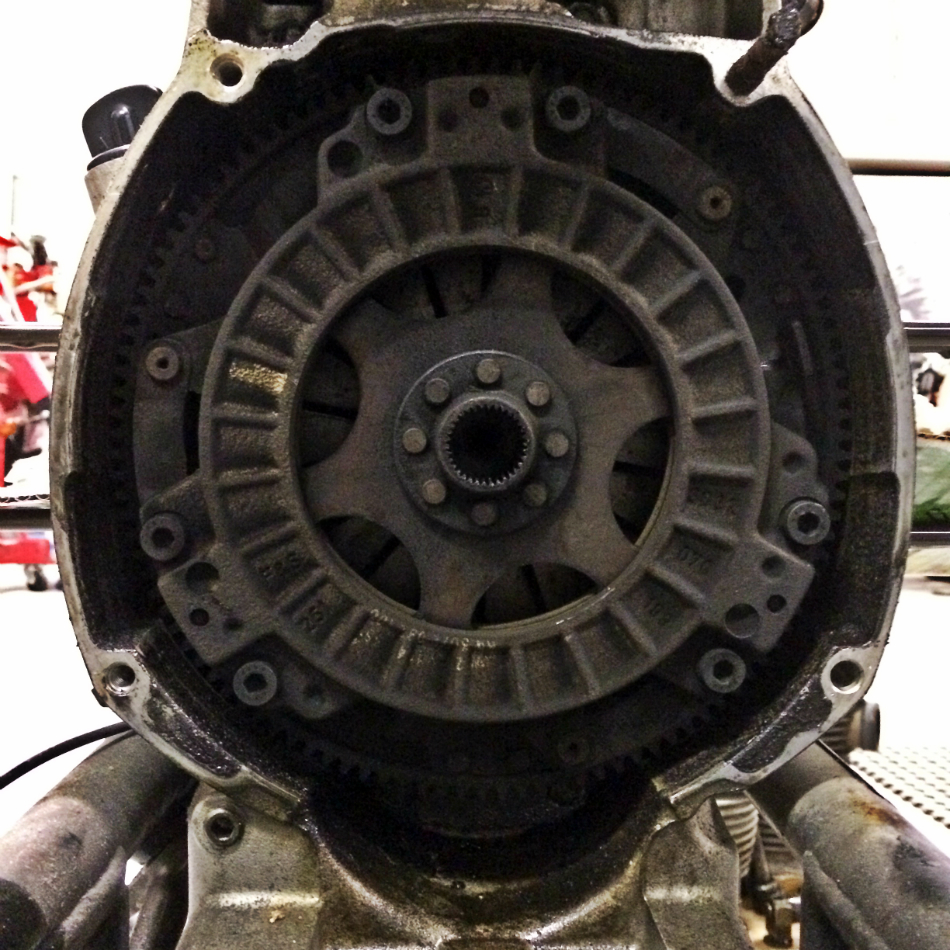
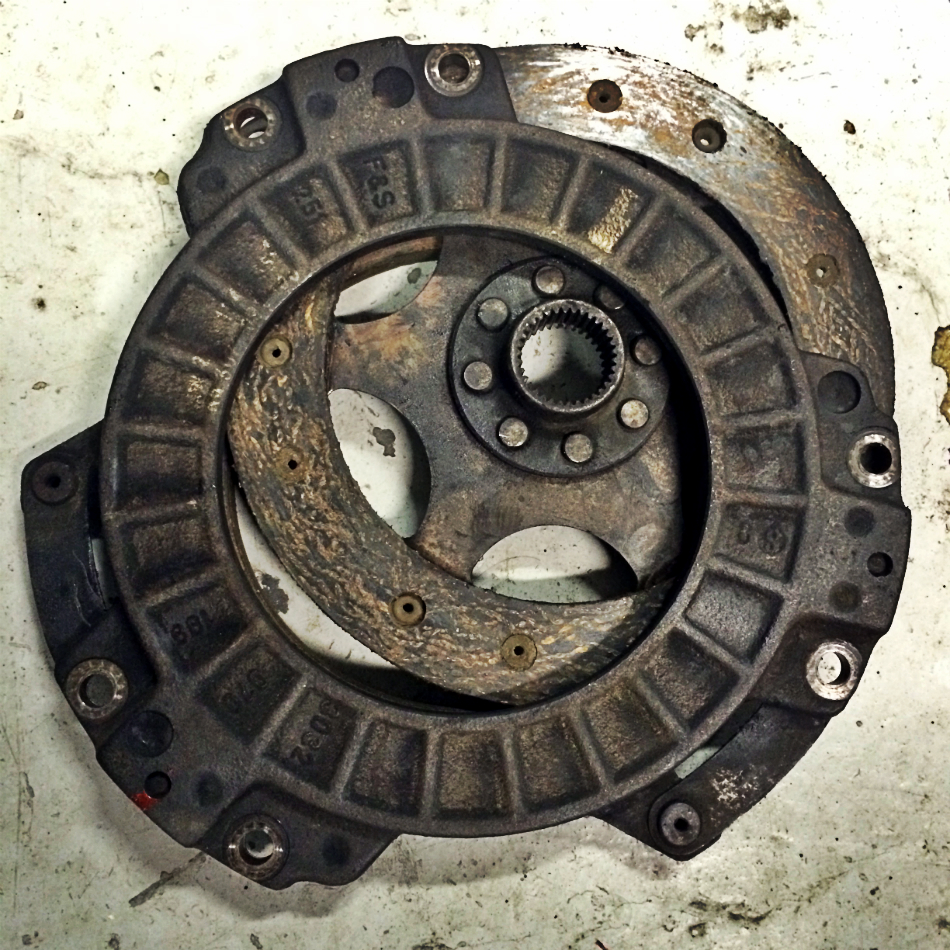
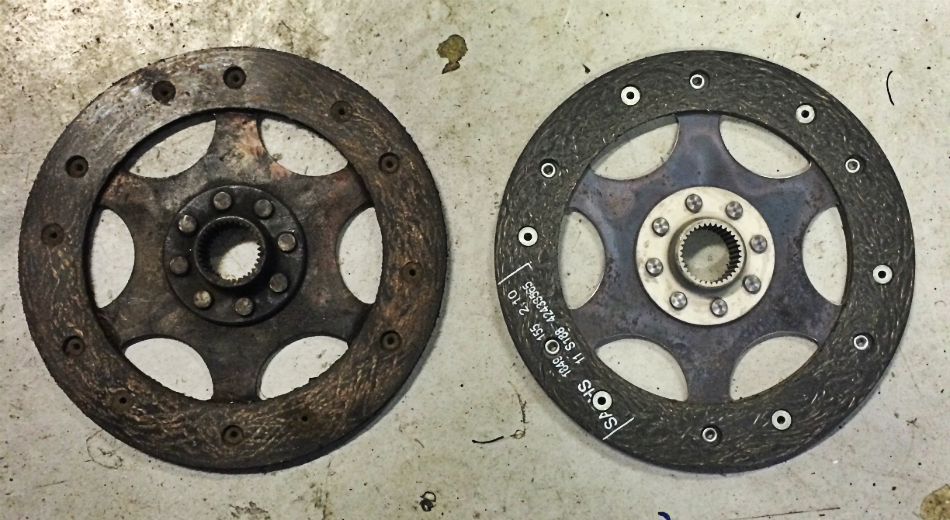
Carefully unloading the pressure on the clutch spring disc, we removed the clutch friction plate. It was certainly aged, but not nearly as bad as expected. Prior to removing the friction plate and sinking further into the clutch rebuild, we made sure to chock the crankshaft up (inside of the alternator cover) and to mark up the discs prior to removal so that they would match up when the time came to reinstall them. These steps are standard for successfully making it through an airhead clutch rebuild, however I won’t bore you with the specifics.
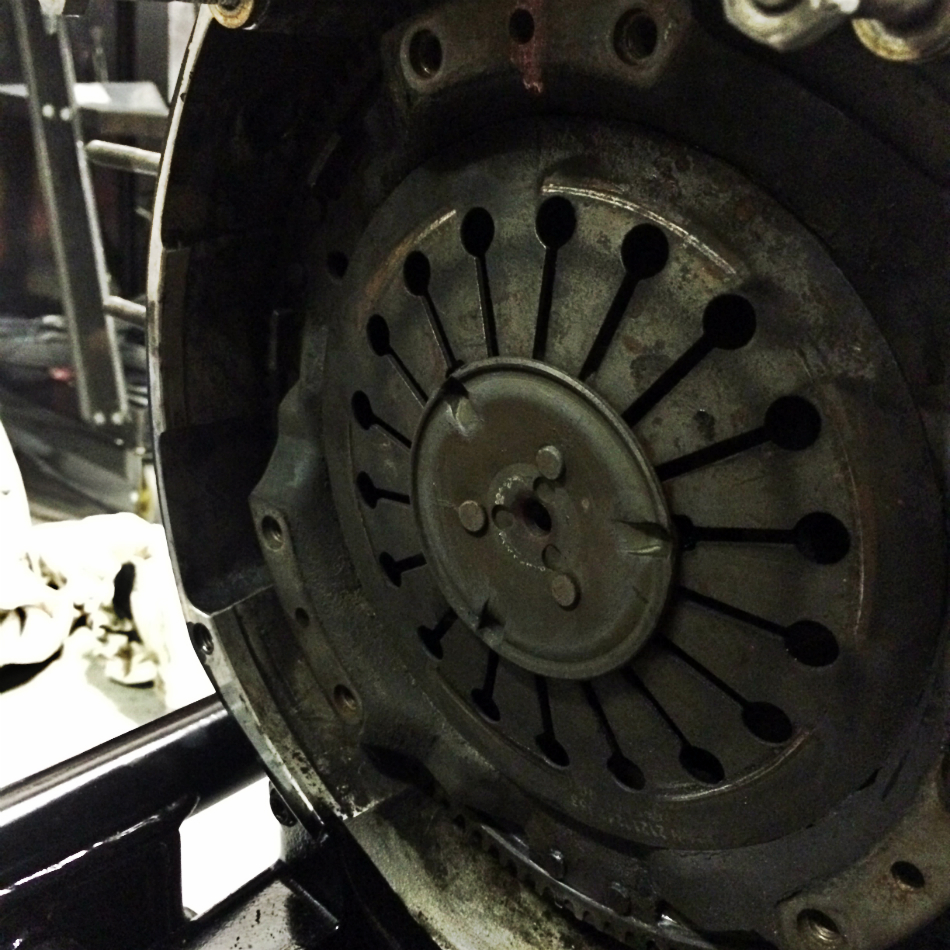
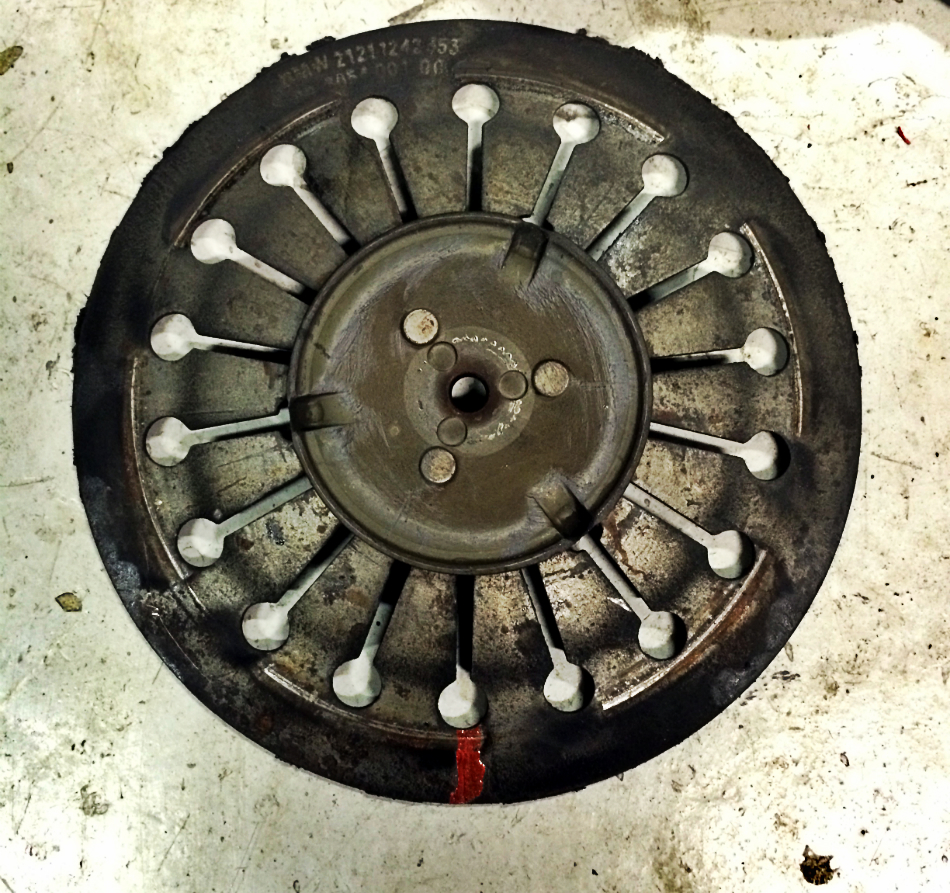
Next came the clutch spring which came out easily.
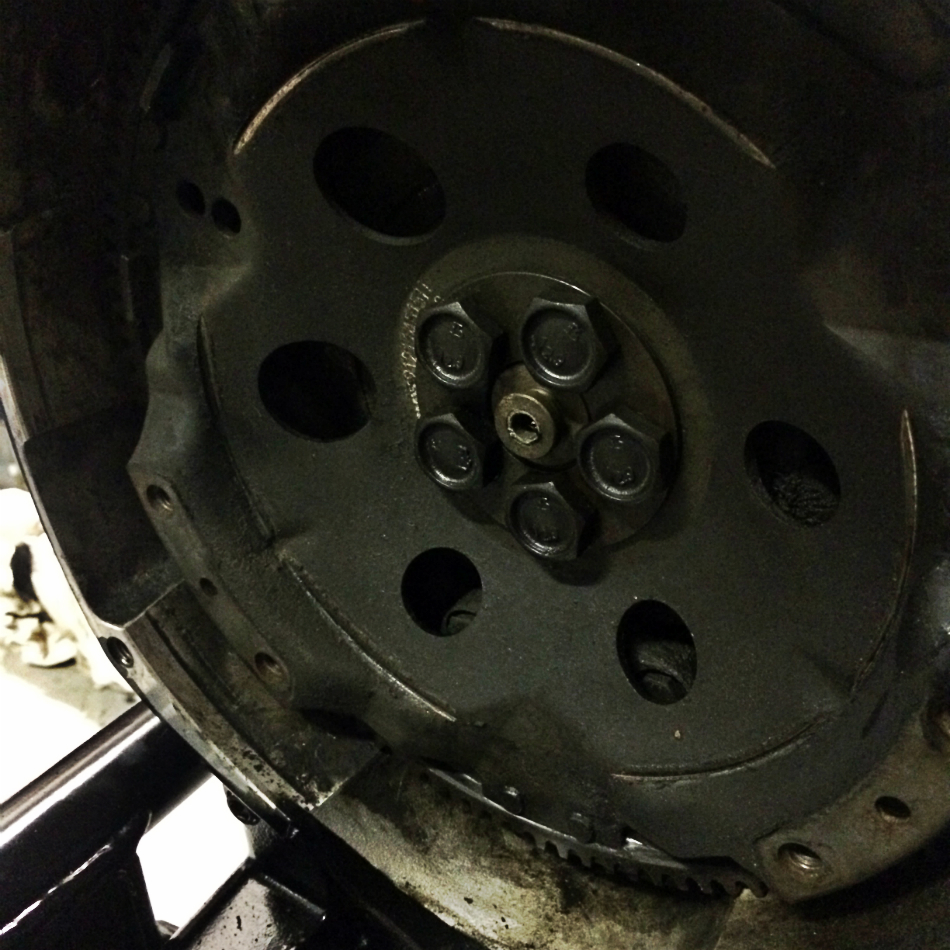
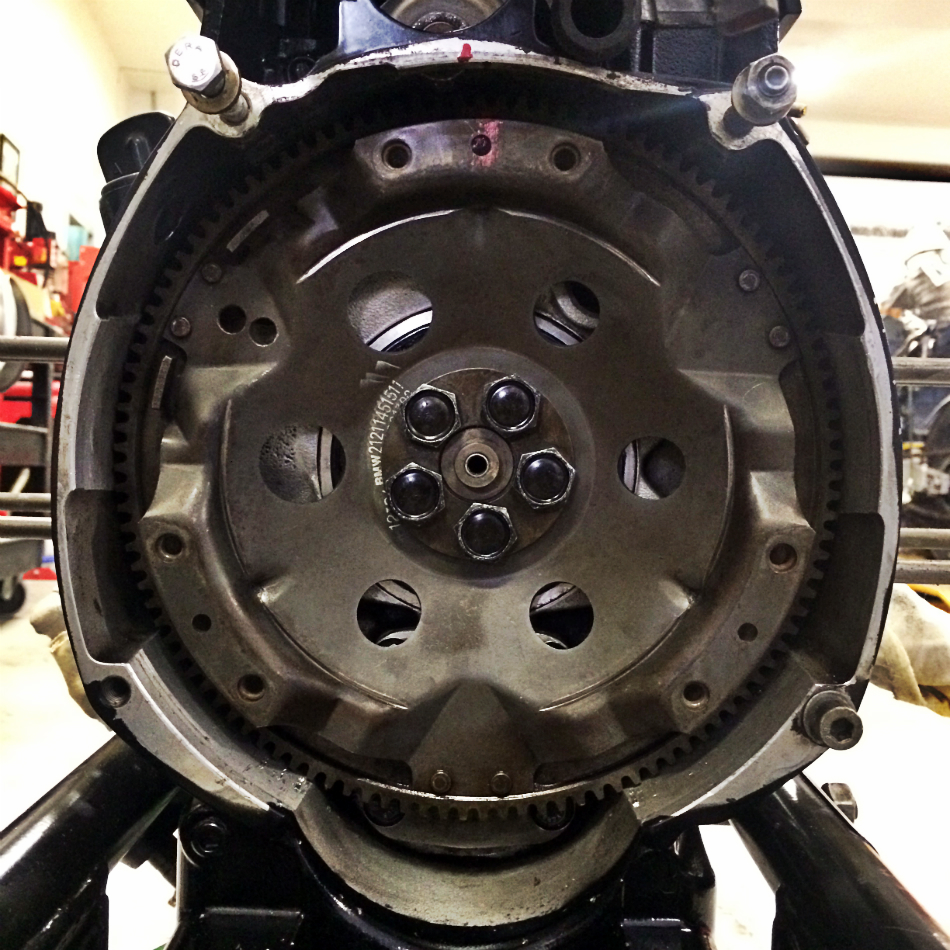
Next to be removed was the flywheel. A little shimmying and she came loose.
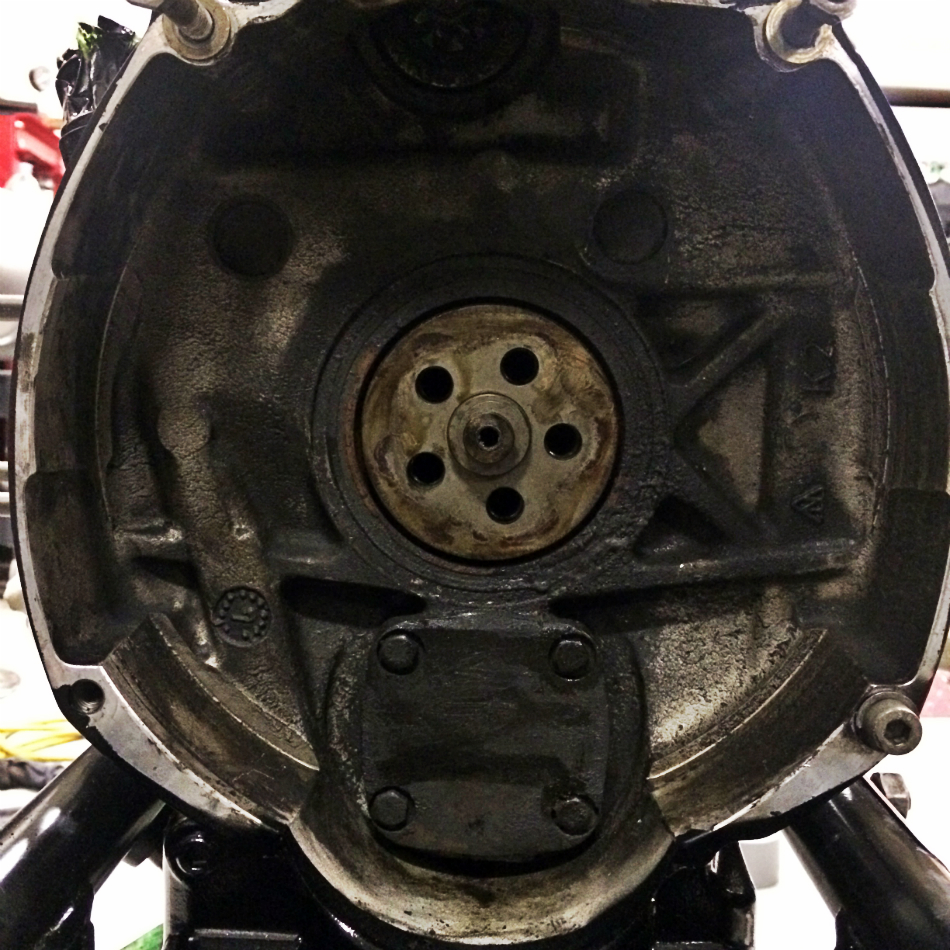
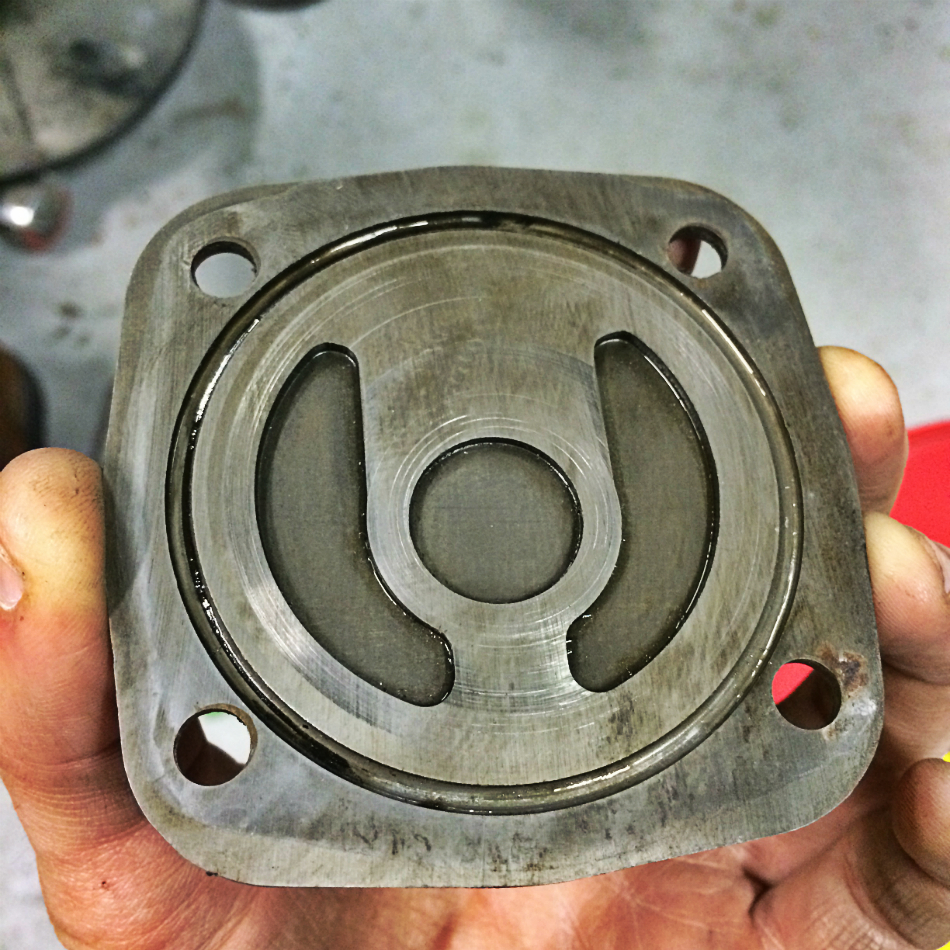
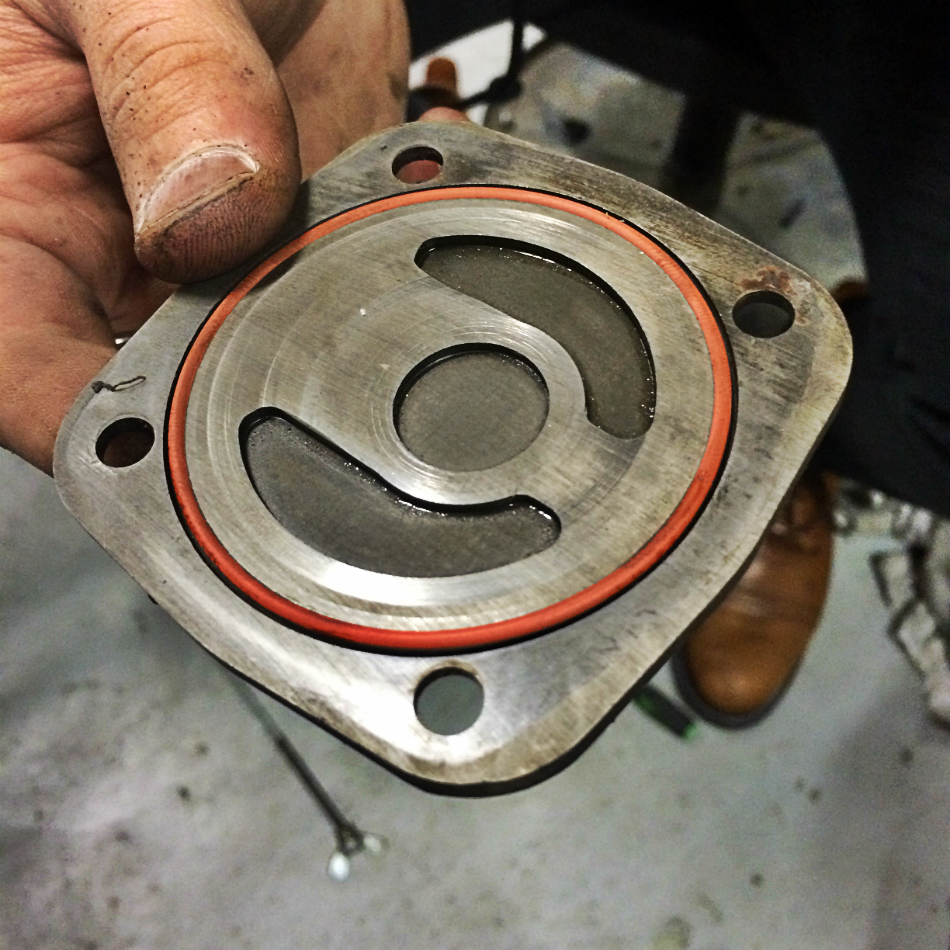
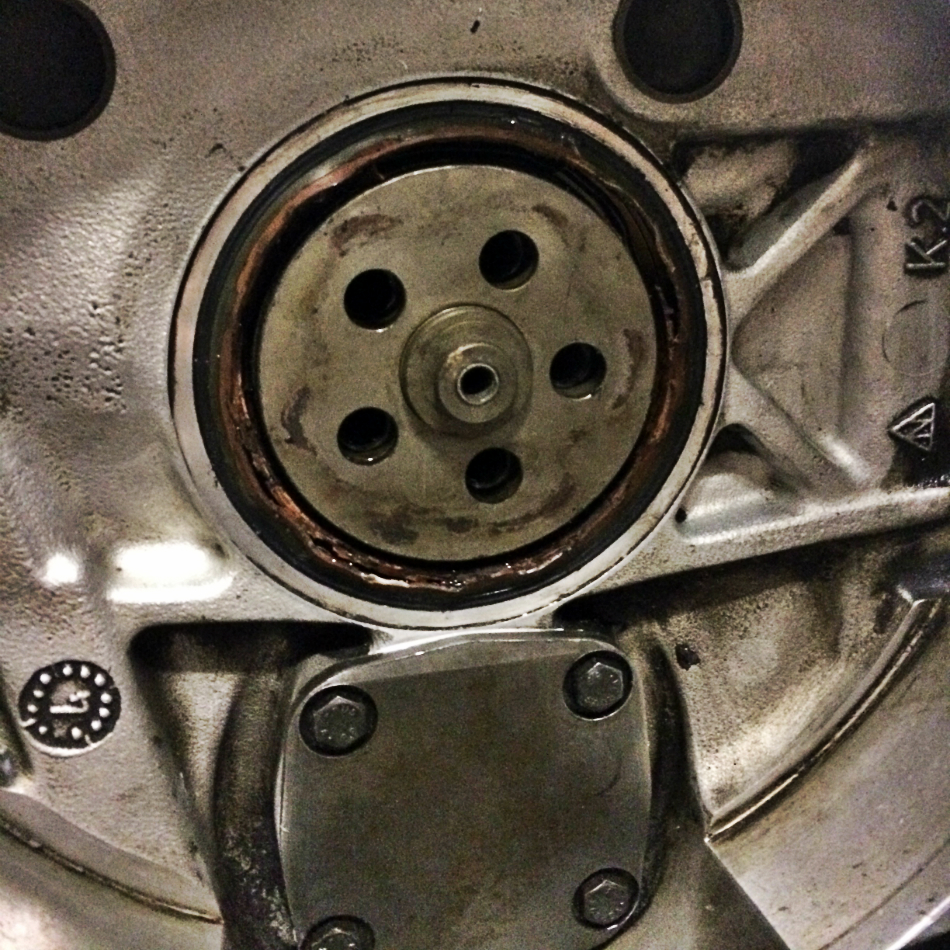
With the flywheel removed, the rear main oil seal and oil pump seal were both visible… But incredibly dirty. Further to this, there was a distinct presence of oil which explains the slight oil leak from the motor/gearbox join when I got her started prior to the tear-down.
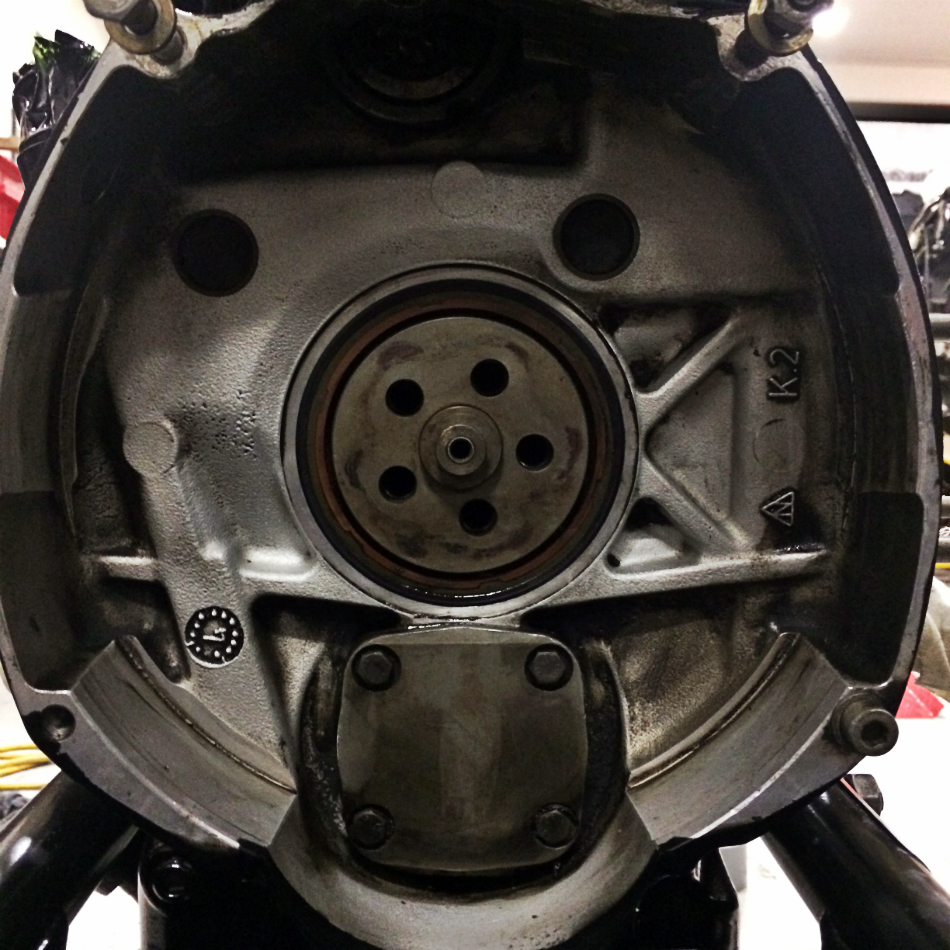
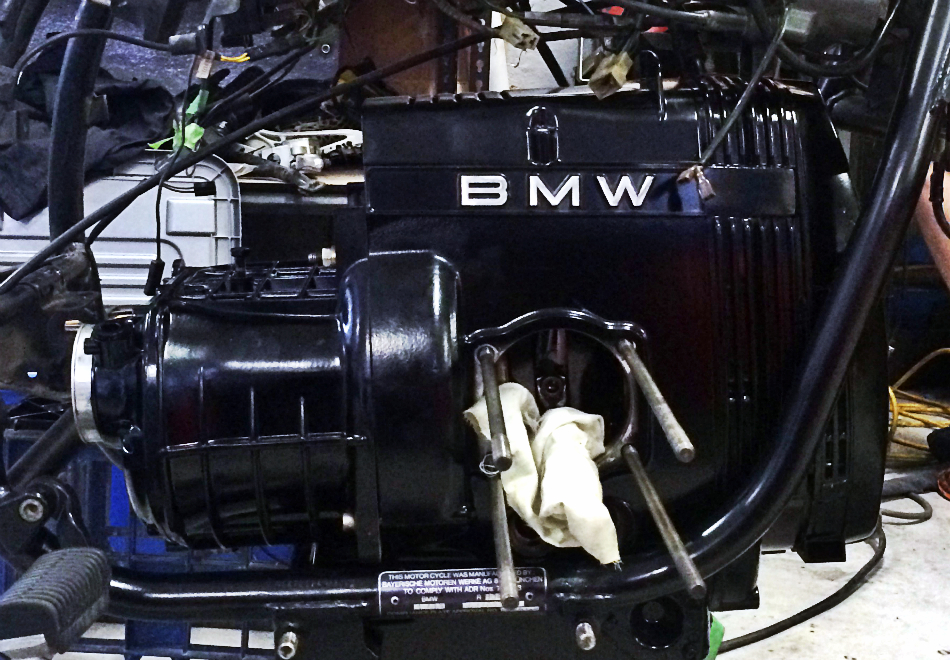
A little bit of cleaning and the seals were a lot easier to work on. The BMW R80 clutch is a dry one, so it was certainly a good idea to clean this compartment out prior to reinstalling the clutch discs. Below is a picture of the party cleaned clutch compartment:
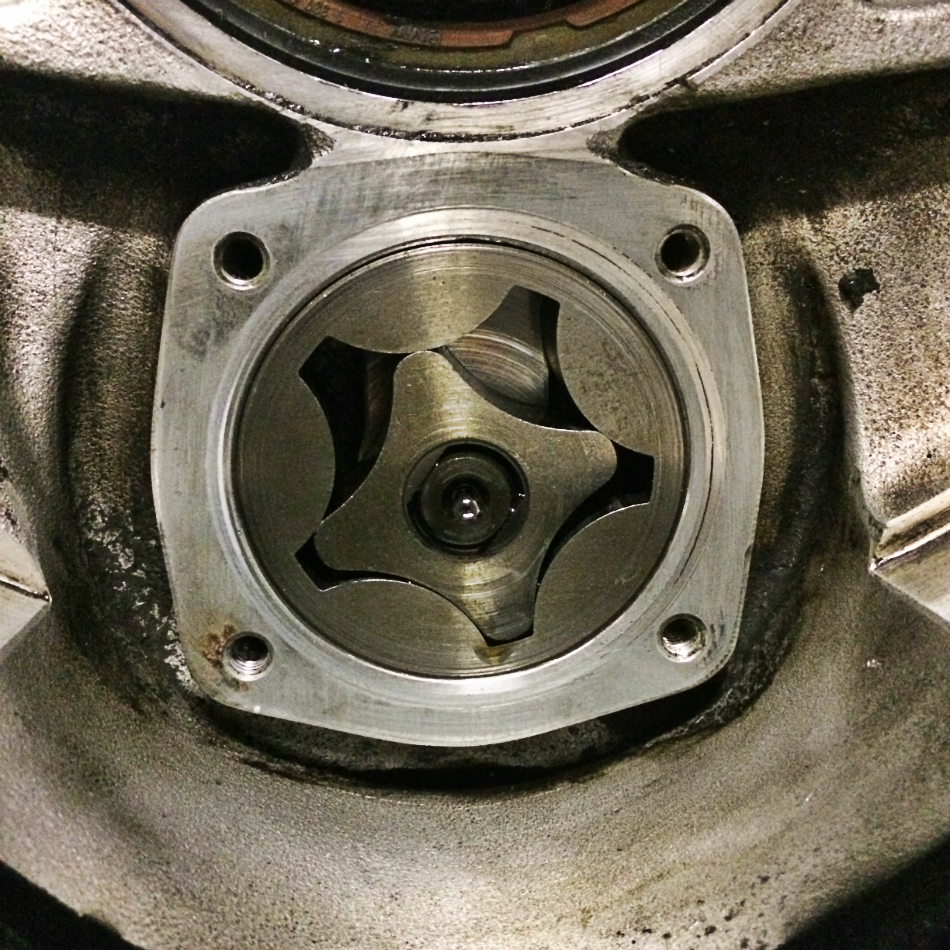
With the general area relatively clean, we moved on to replacing the rear oil seals, starting with the oil pump seal.
The oil pump seal came off and was replaced with relative ease… This was not true for the rear main oil seal…
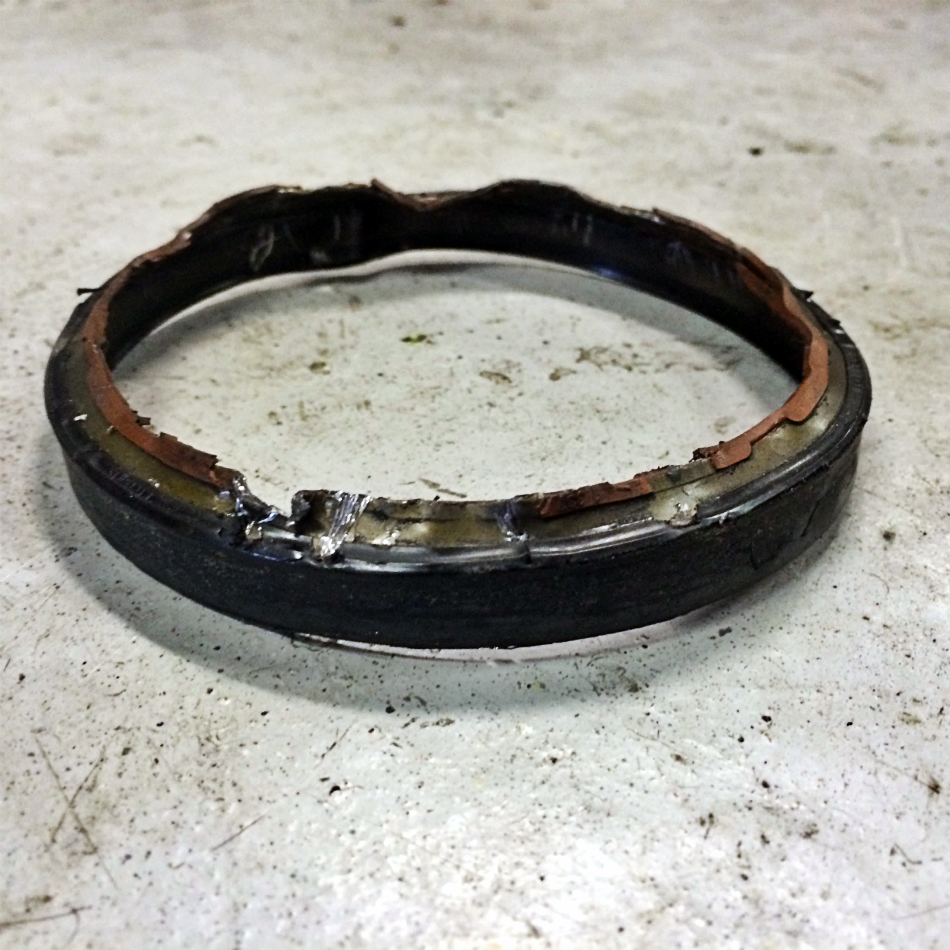
The rear main oil seal reduced three men to tears before a man with qualities likened to King Arthur valiantly rode (strolled) in and withdrew Excalibur (the pesky oil seal) from the stone (the motor).
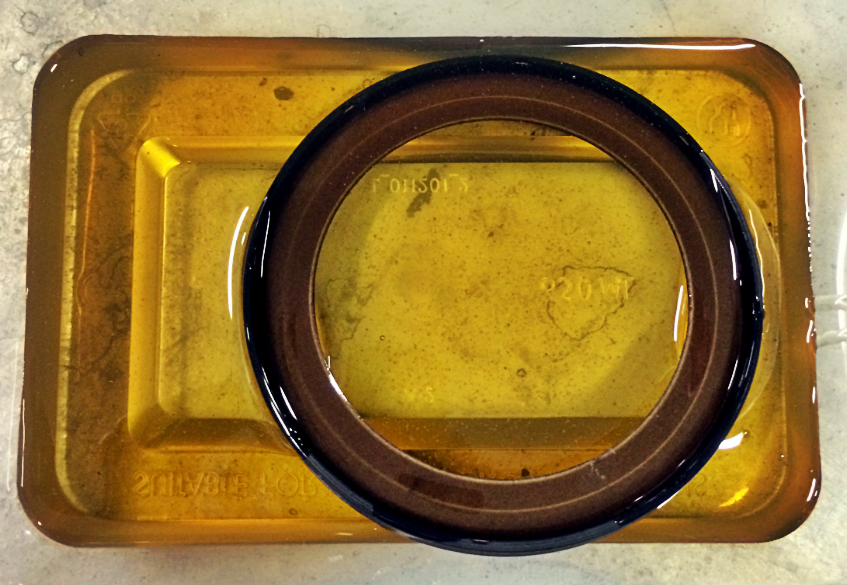
Once the rear main oil seal gave way, it was possible to proceed with installing its replacement. I’d prepared the replacement seal by soaking it in motor oil prior to installation.
Now that the oil seals were replaced, we returned the flywheel to its home utilising five new stretch bolts (from my MotorWorks package).
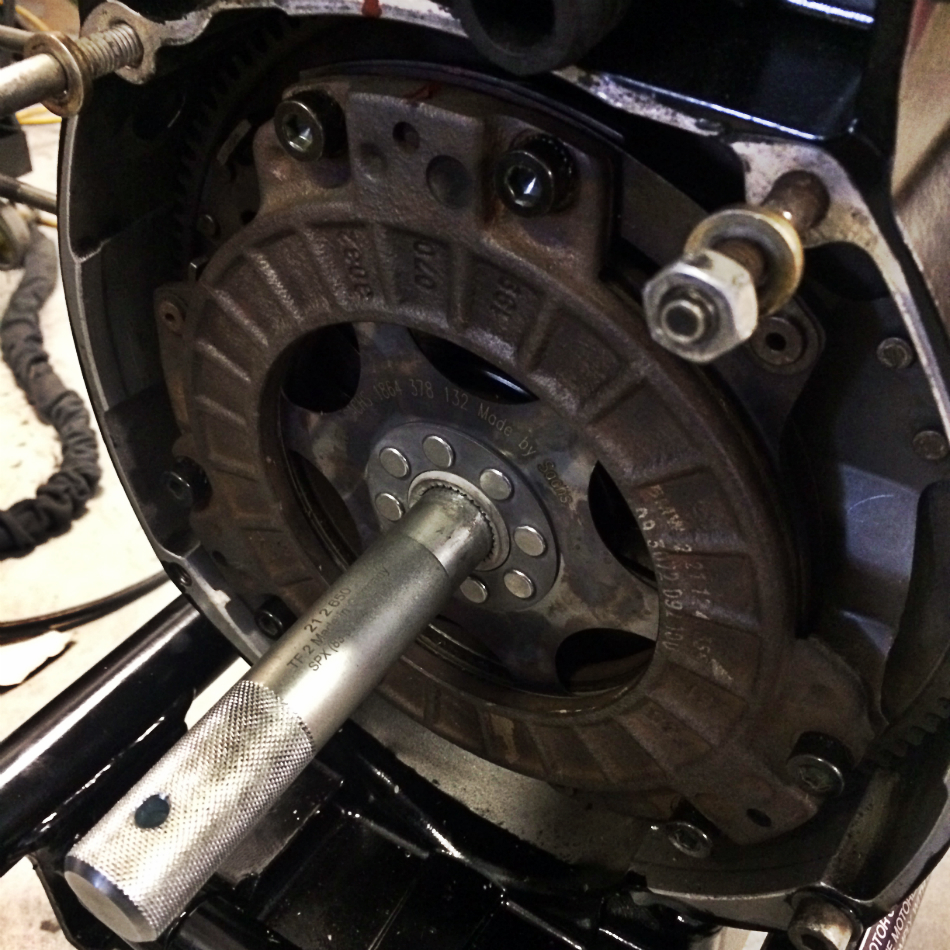
Once the flywheel was secured, we moved on to reinstalling the clutch spring, friction plate and cover plate.
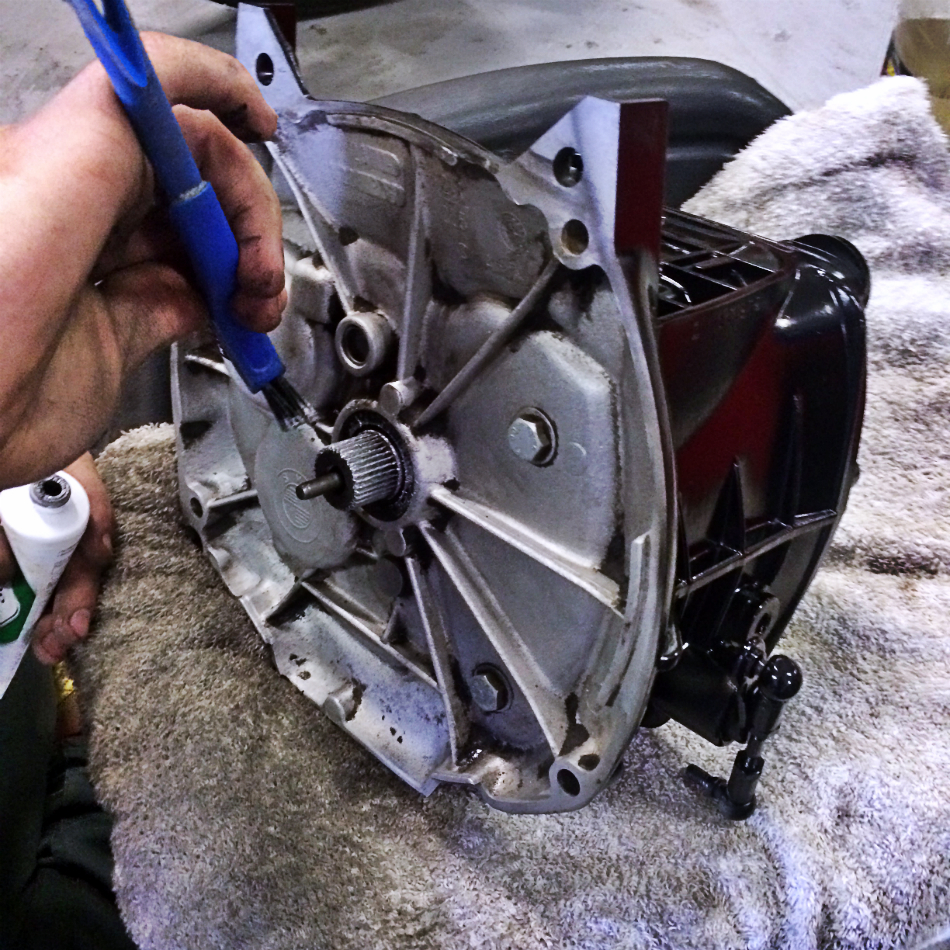
The clutch rebuild was now complete! With this out of the way, we went about reinstalling the gearbox.
As a final step, I refitted the clutch actuator.
Glad to finally have that out of the way… I’m one step closer to the much anticipated test fire.
As mentioned, I have made further progress since this and intend to catch up on those posts today and tomorrow. Thanks for reading!

