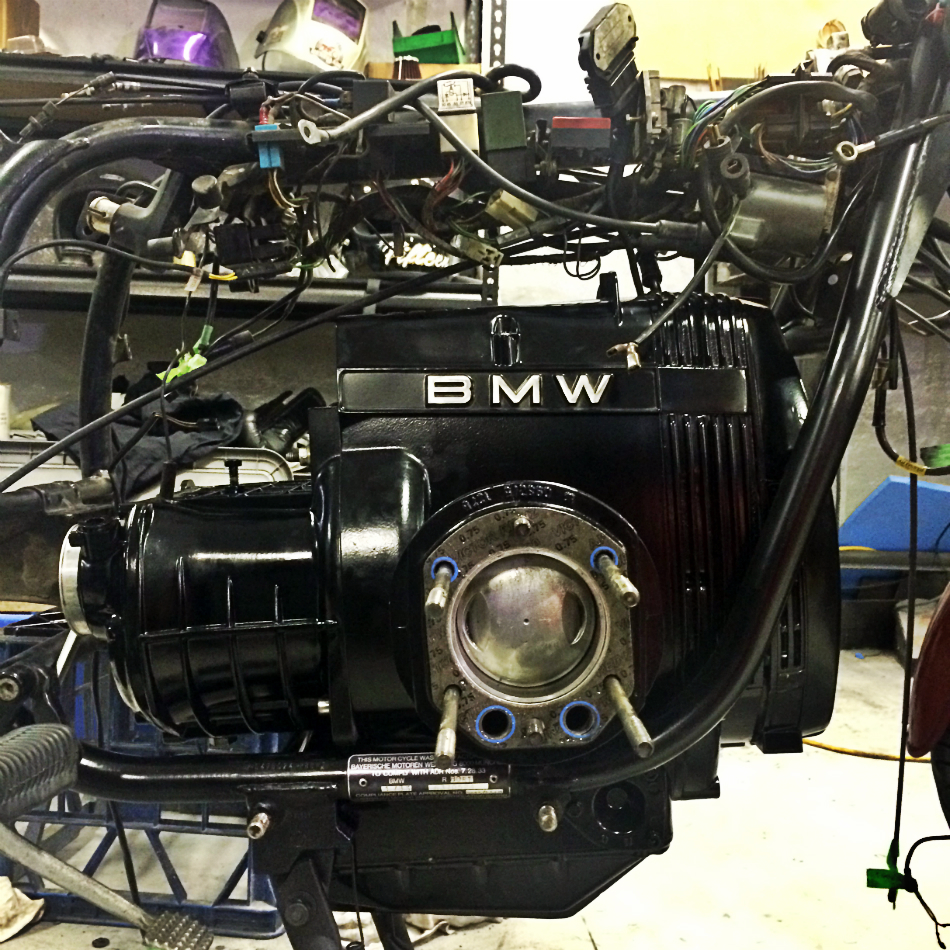
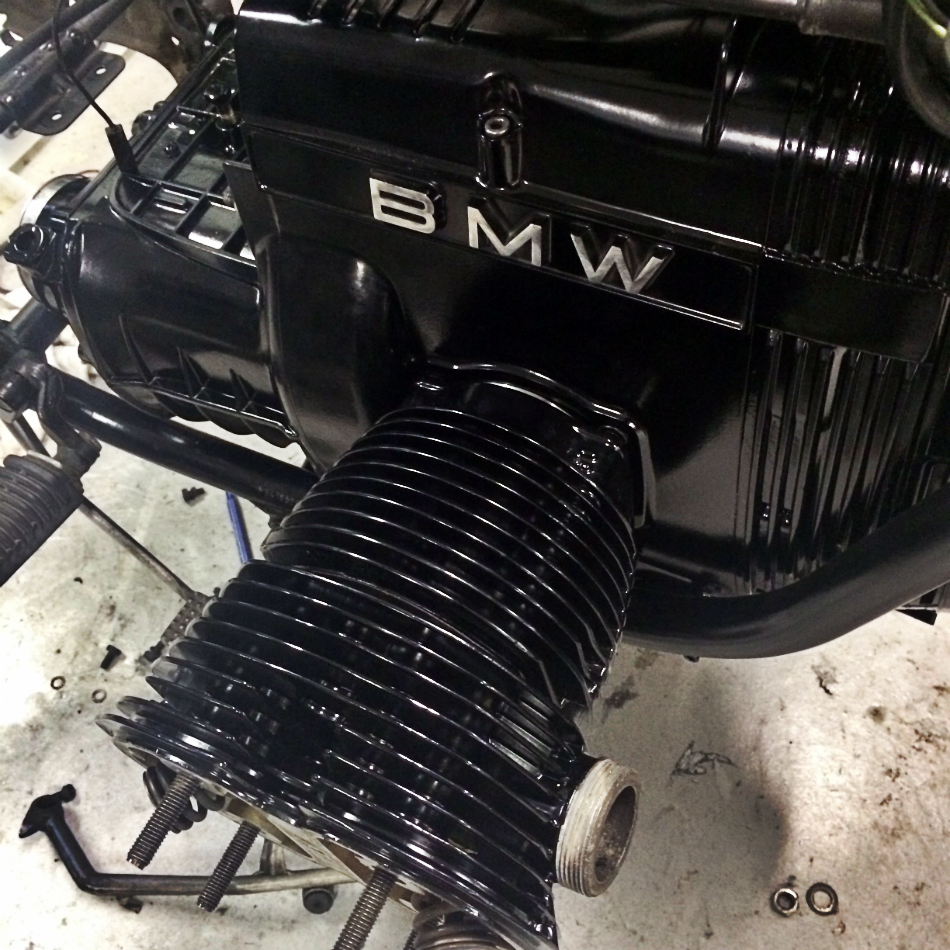
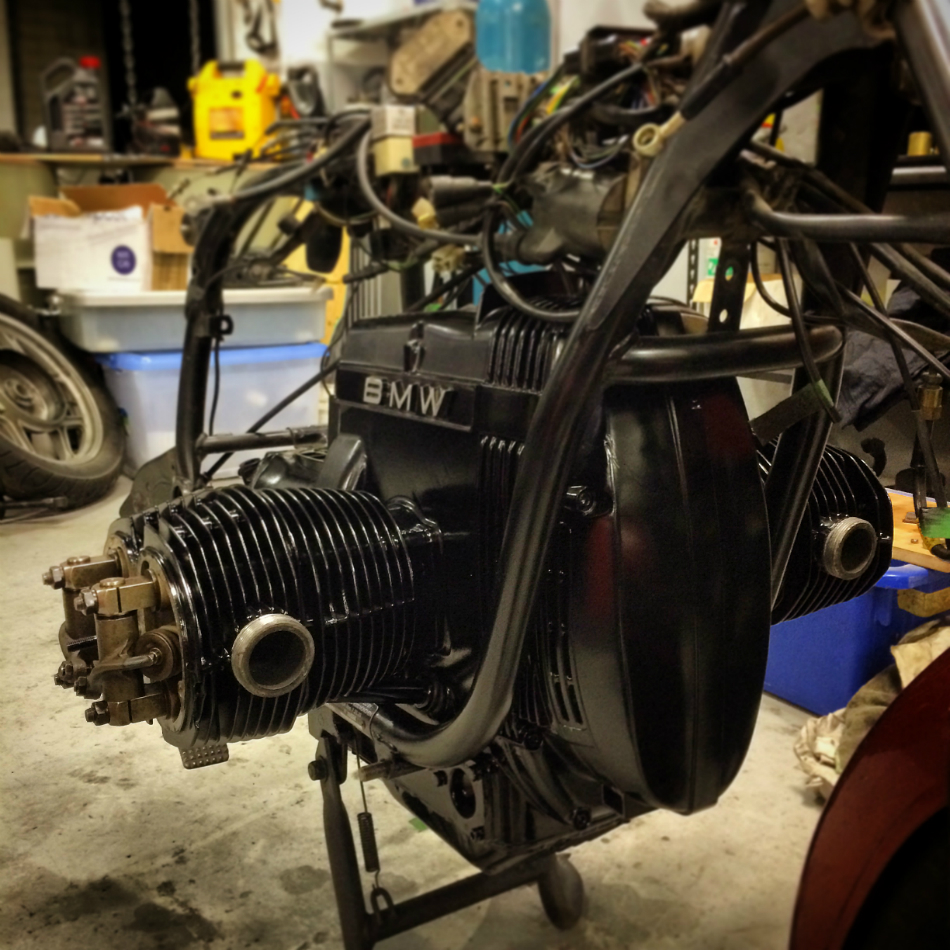
With the clutch and gearbox sorted, the next port of call was the R80’s top-end. Despite my concerted attempts to refit almost everything upside-down, Sam kept things honest and we got there in the end.
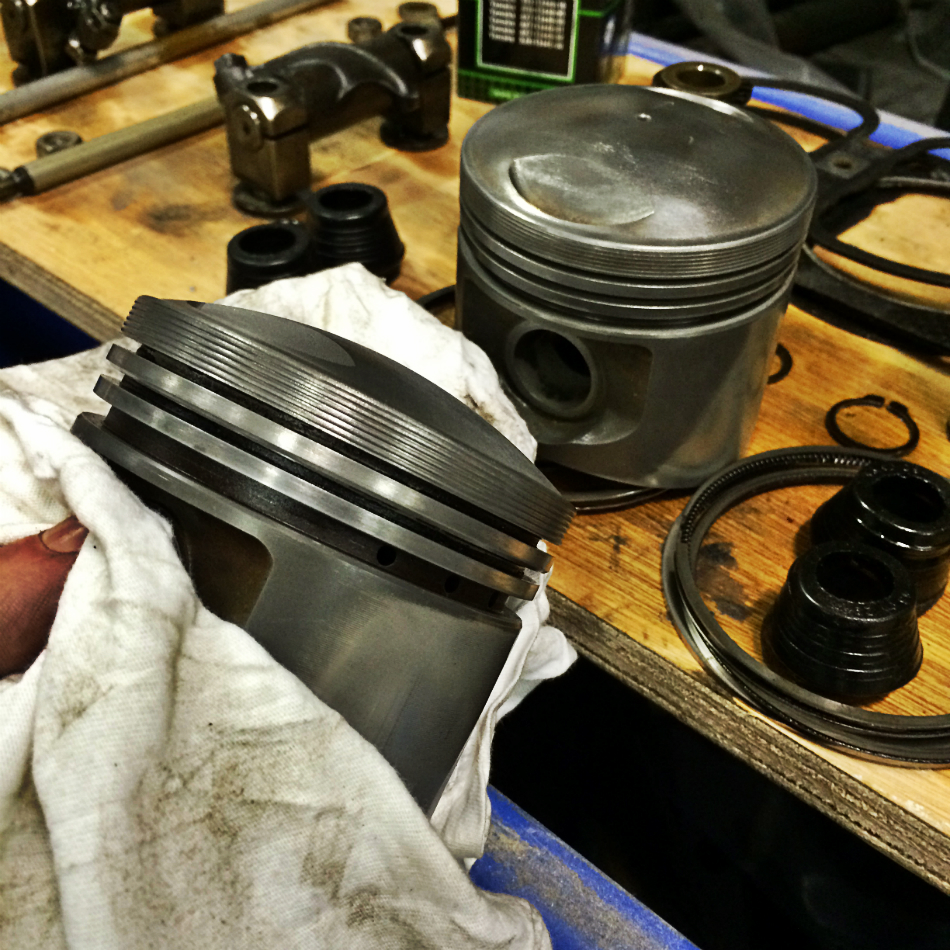
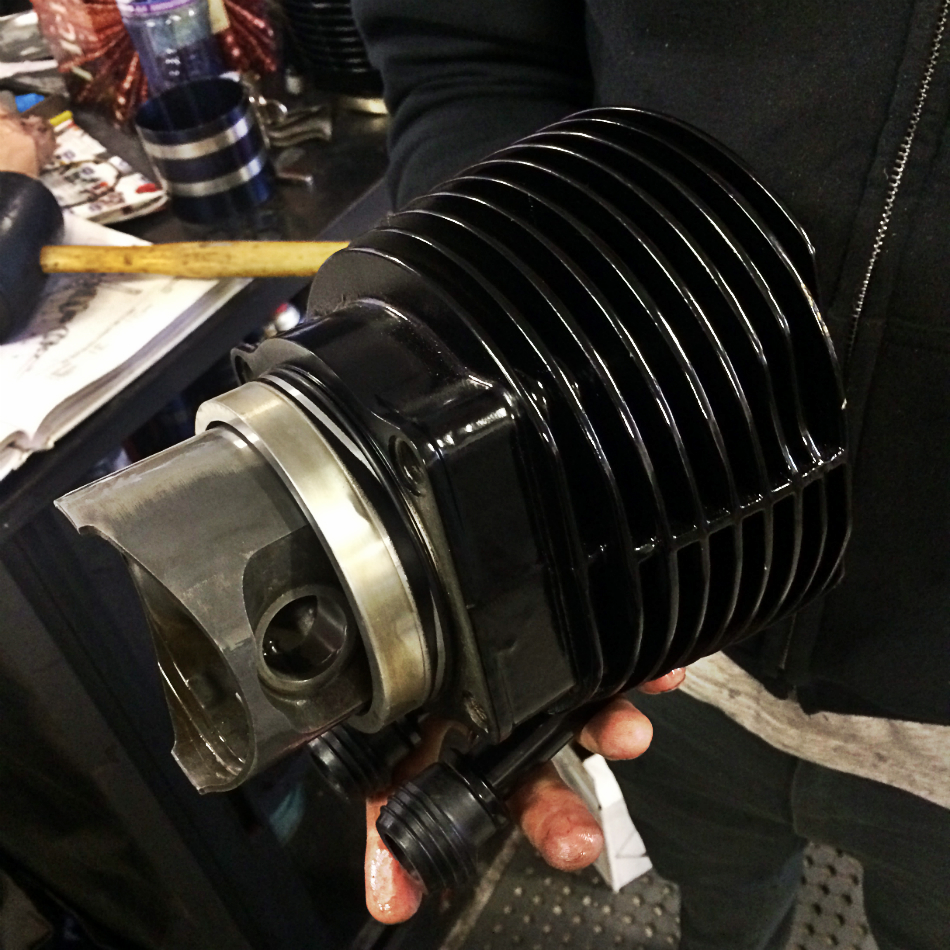
The freshly painted barrel and valve sections of the top-end were ready to roll, so I focused on preparing the pistons with new piston rings. Before getting started with that, I began by cleaning up the pistons as they were covered in carbon that had built up over the years.
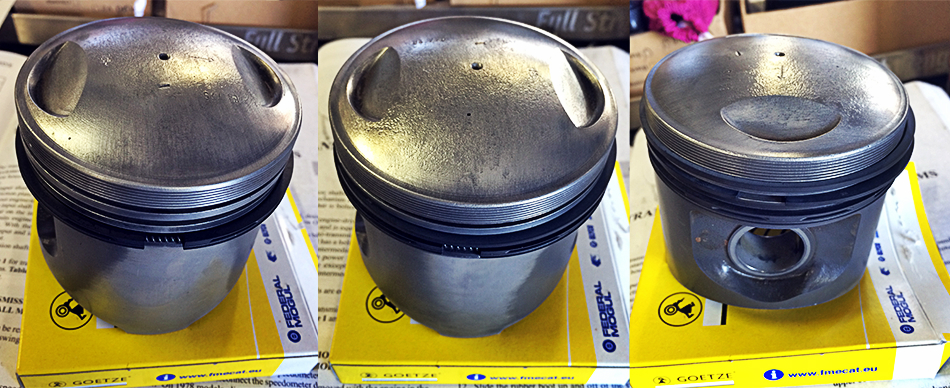
The pistons came up rather nicely. Once I was done with that, I started on installing the new piston rings.
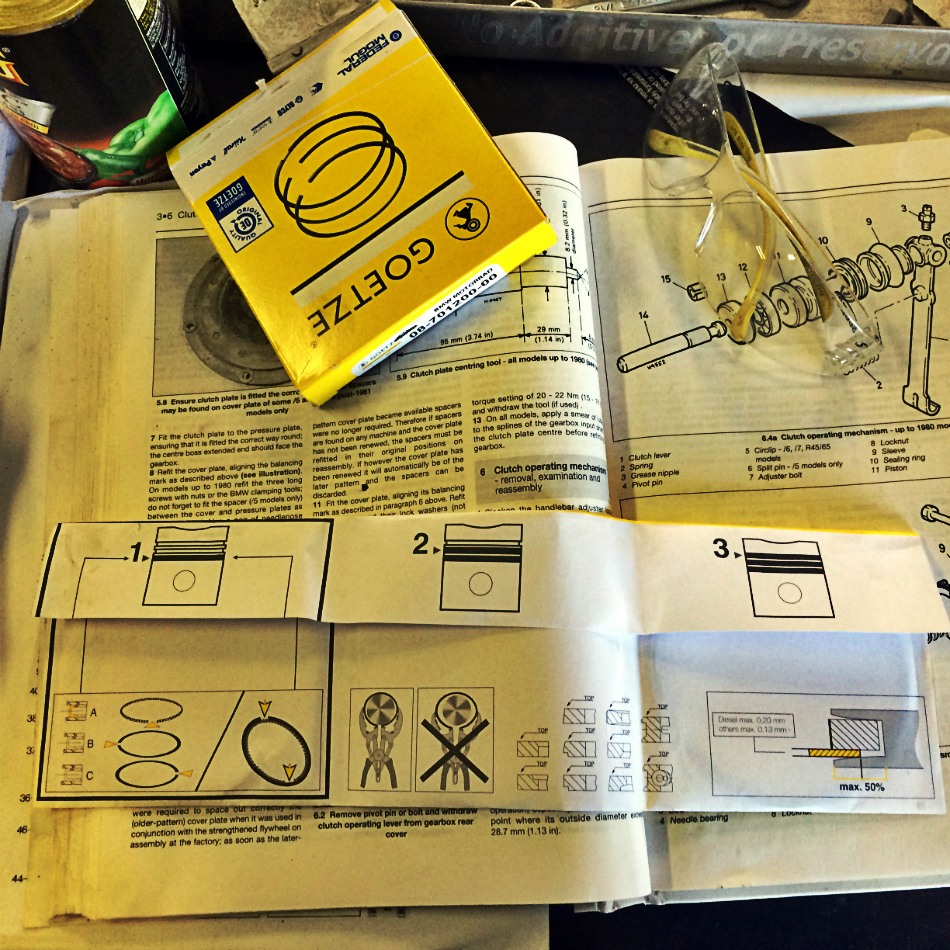
Following the installation guide, I installed each ring as illustrated above.
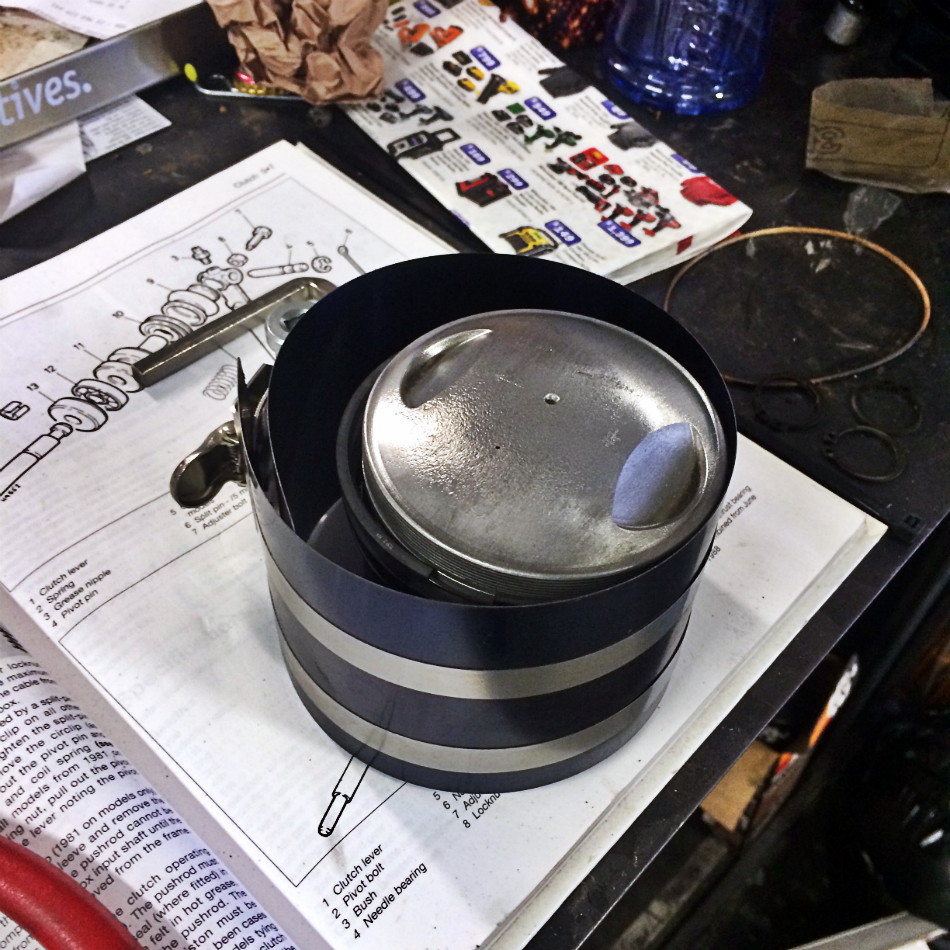
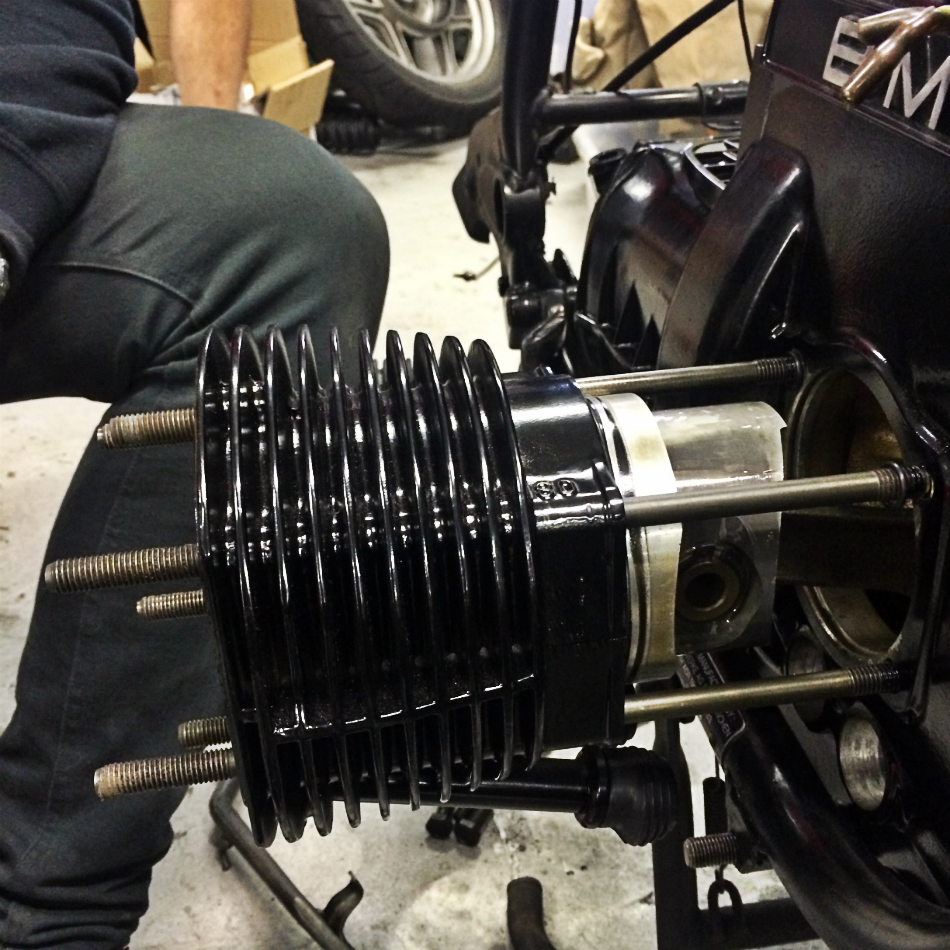
With all the piston rings fitted, I utilised a piston ring compression tool to compress the piston rings enough to get the pistons back into their respective barrels.
The next step was to gently work the connecting rod back through the piston and conrod, then install new piston circlips.
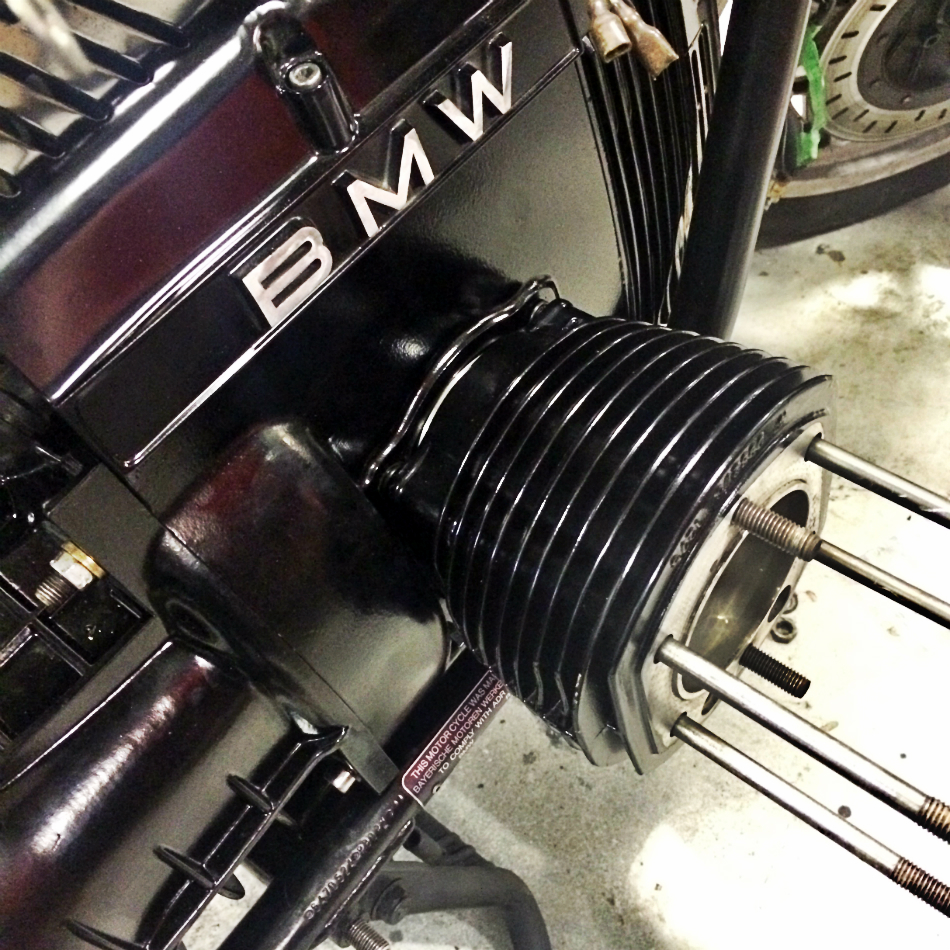
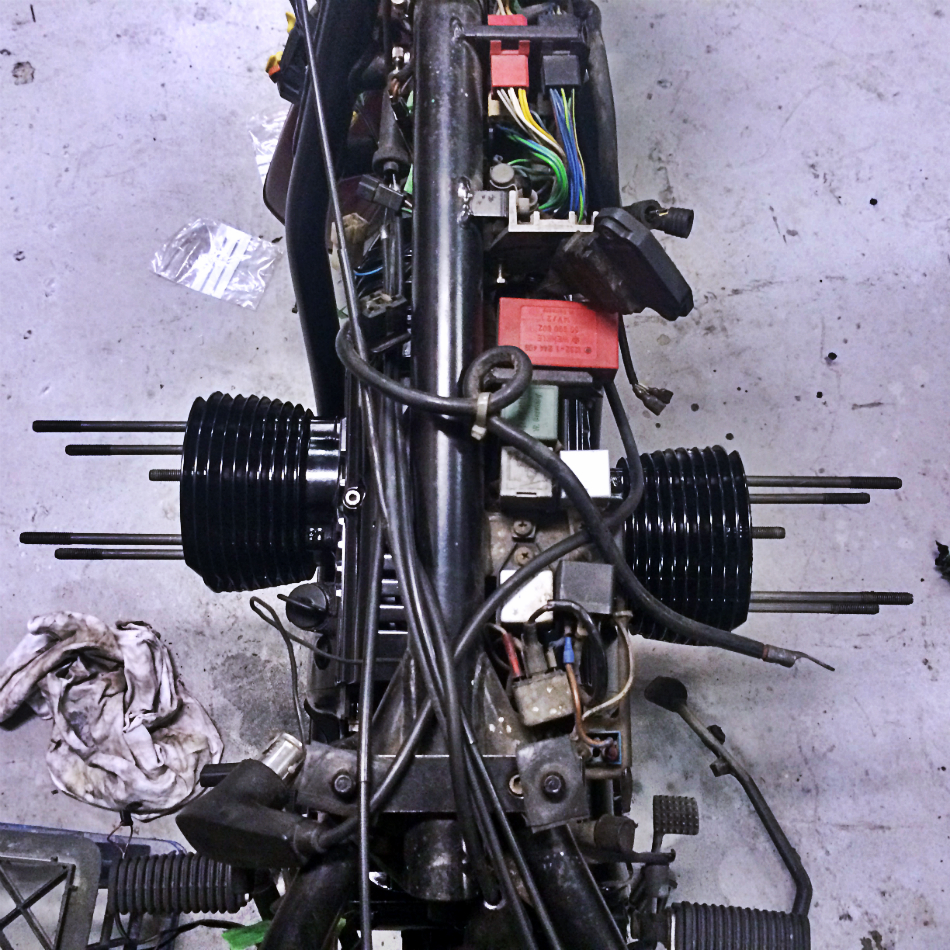
Sam and I repeated the steps for the opposing side.
We prepared and installed the necessary gasket and moved on to refitting the valve section of the top-end.
Once the valve section was in place, we worked on refitting the rockers. We then torqued up the nuts to spec in the sequence outlined in the workshop manual. Without including the rocker covers, the top-end was back together and lookin’ damnnnnn fine!

