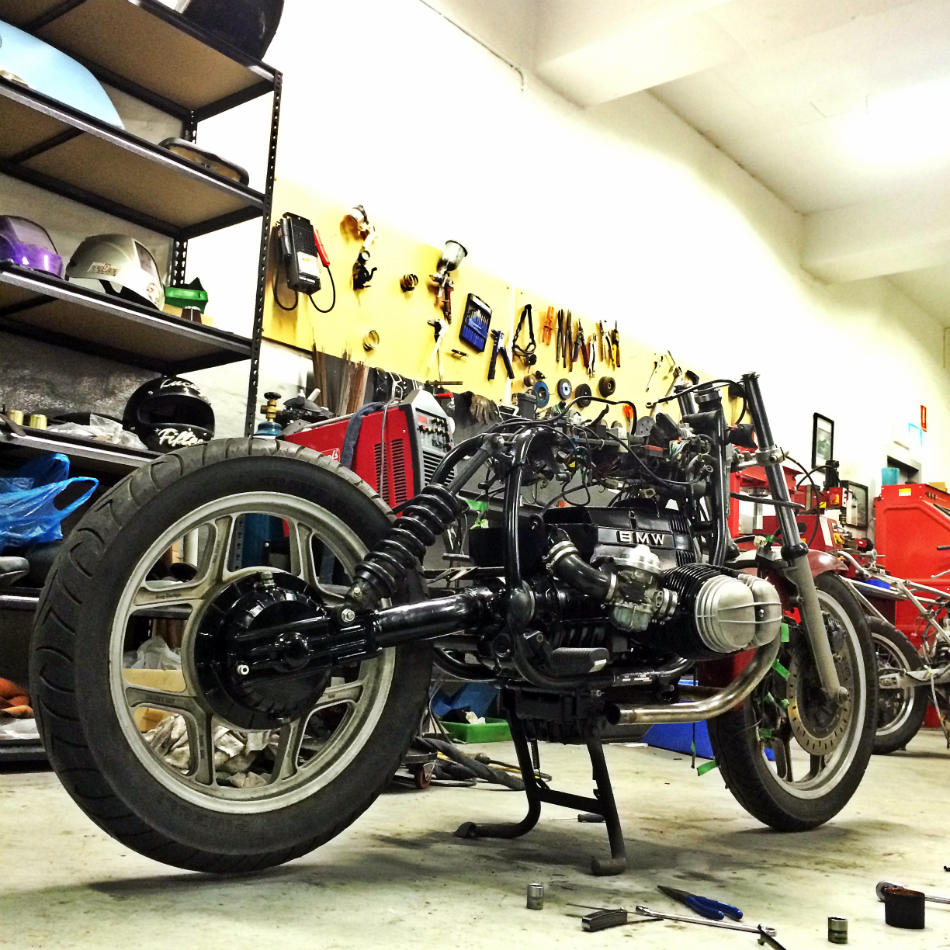
Ludicrously close to firing her up for the first time since the top-end and clutch rebuild, I continued along with preparations for the test run!
I started by refitting the lower section of the stock (painted) airbox, but before I could achieve this, I needed to prepare a fuel tube to run between the carburetors. To the best of my knowledge, the balance fuel line is designed to ensure fuel is getting to both carburetors in the event that fuel isn’t coming through from both petcocks on the fuel tank. I don’t believe it’s crucial to have, however there is much of this bike’s engineering that I’d like to keep in the final design.
I proceeded to bolt the airbox into the motor and fit the internal air intake tubing.
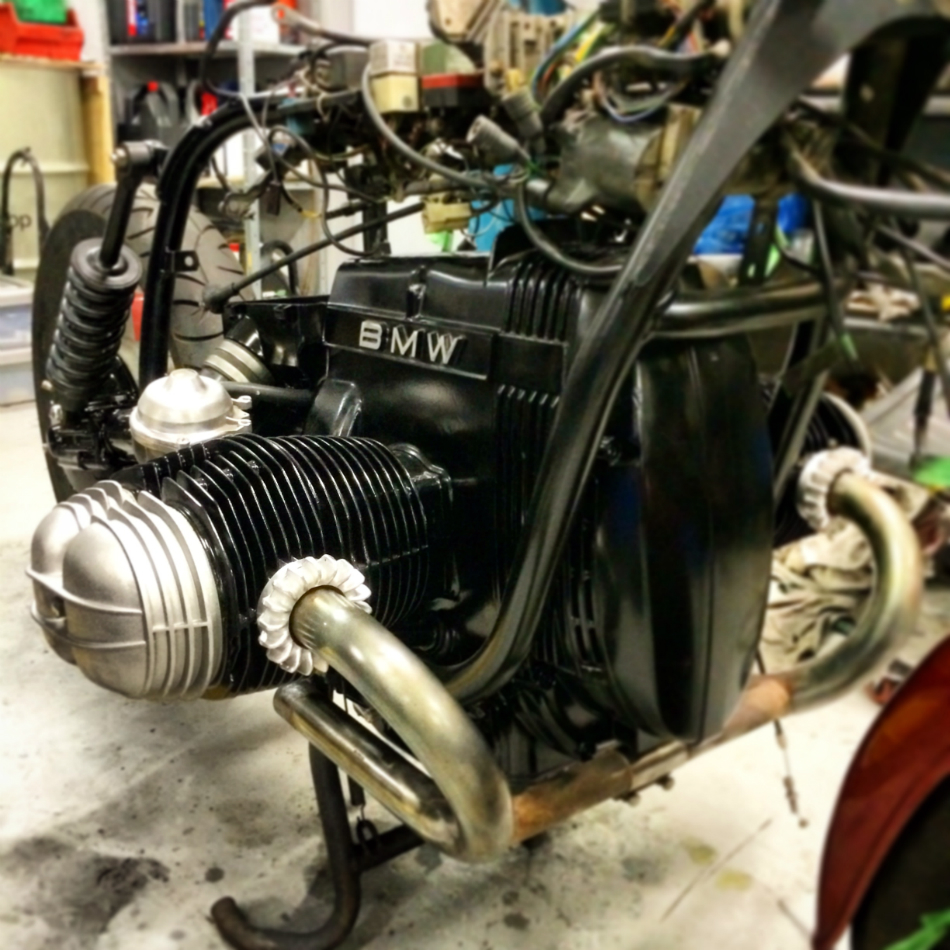
With the airbox lower section refitted, I was able to move on to re-installing the carburetors. I spent some time along the way cleaning up the stock BMW intake clamps on a wire-wheel.I didn’t really spend much time on cleaning up the headers just yet as these are going to be subject to a lot of change in the coming fortnight. For now, I temporarily refitted them to prepare for the test-fire.
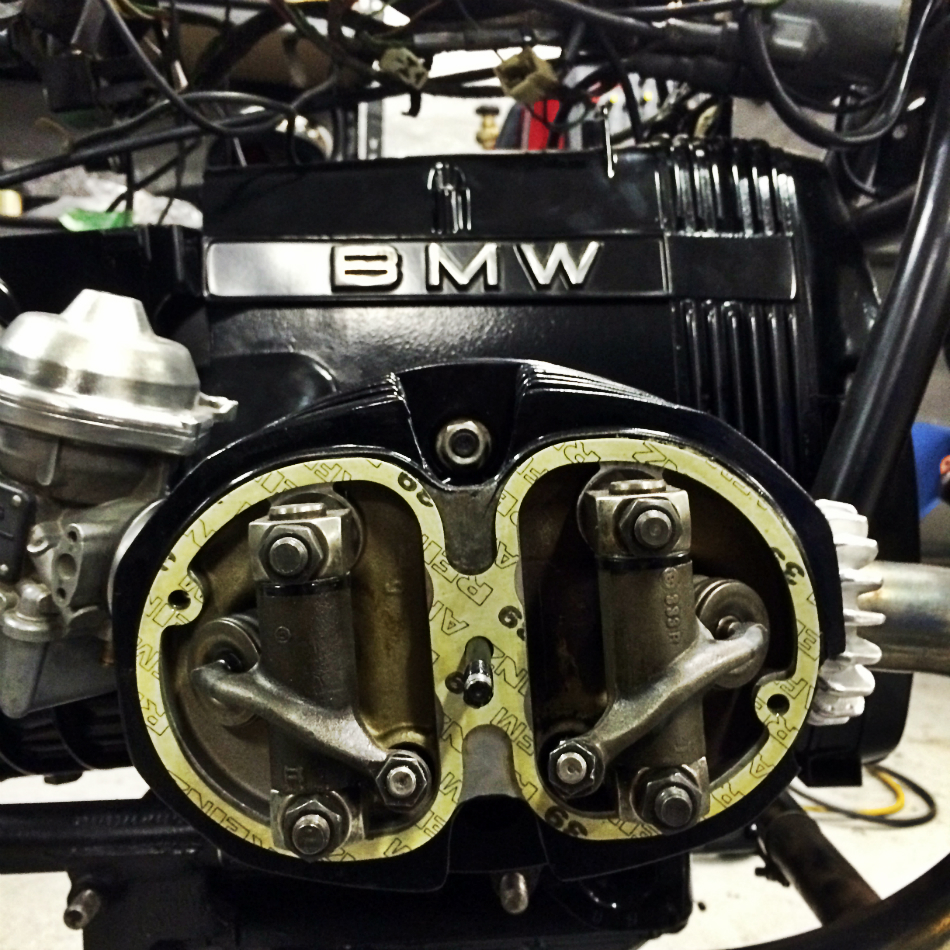
Before I could throw the new rocker covers (of the “peanut” style) on, I made sure that valve clearances were set correctly as per the workshop manual.
To assist even further, I found this excellent YouTube video that covers the process really, really well:
With a solid idea of how to get the right clearances for intake and exhaust valves, as well as an awareness of the “do’s and don’ts” I went through the process myself.
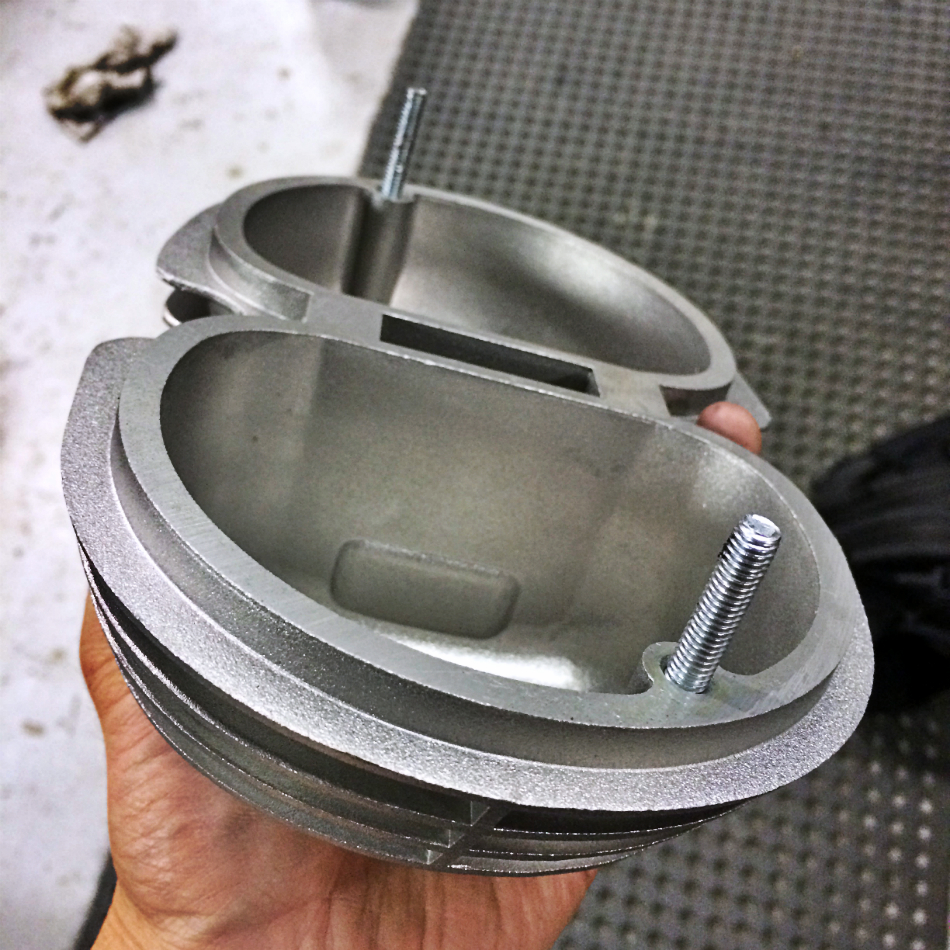
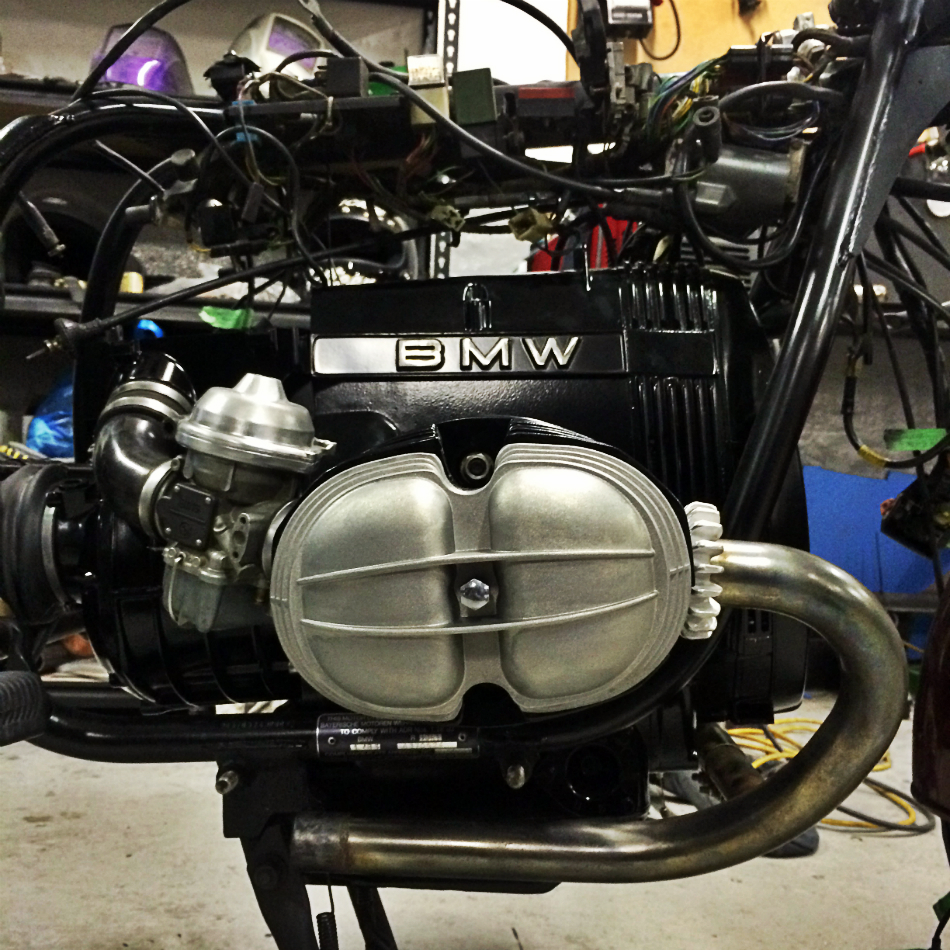
Now that valve clearances and end-play of the rockers were sorted, I moved onto fitting the new rocker covers. First off, I oiled and fitted the new head gaskets.The new rocker covers came with the mounting bolts in a separate packet, so they required fitting first. They were a little tricky to turn so I utilised some cloth which I wrapped around the threading and used a vice to rotate the rocker cover around the cloth-covered thread. This did the trick.
I then fitted and secured the two bolts coming from the rocker cover as well as the centre bolt as necessary.
Now that the carburetors, headers, valves and rocker covers are taken care of, there isn’t much left to give her a test!

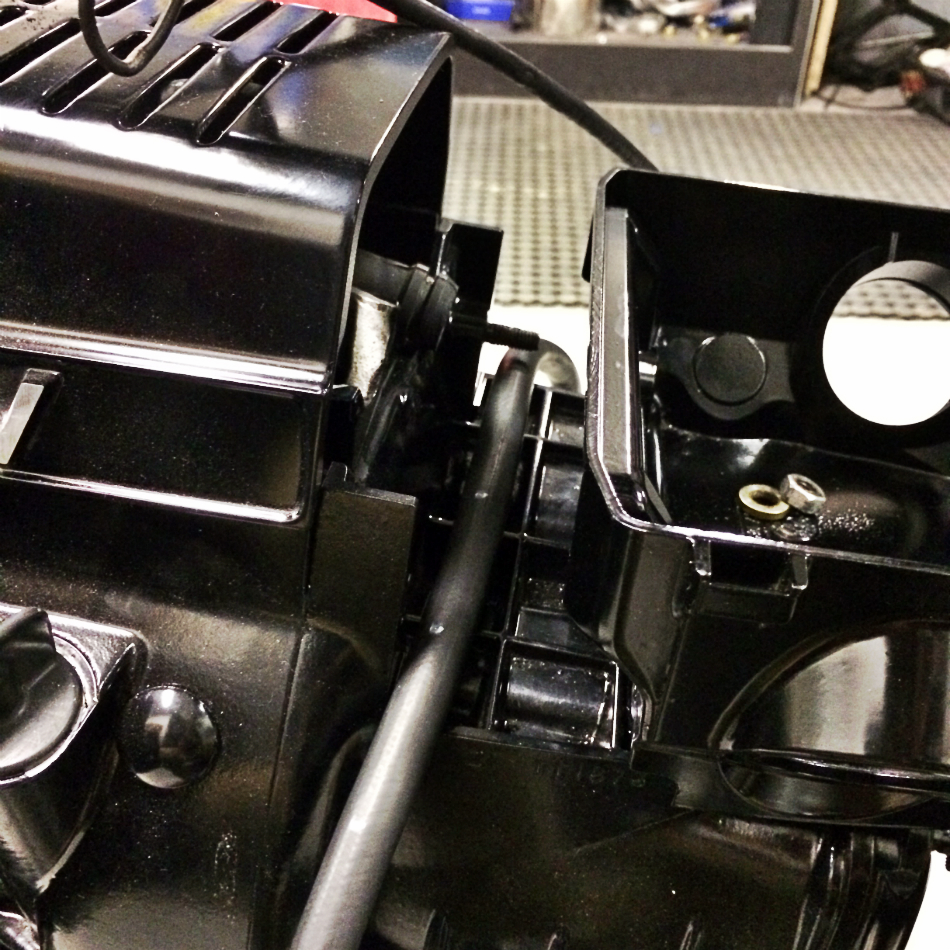
![Airbox [Lower] Refitted](http://findyourexit.com/wp-content/uploads/2014/06/Photo-11-06-2014-8-41-42-pm.png)

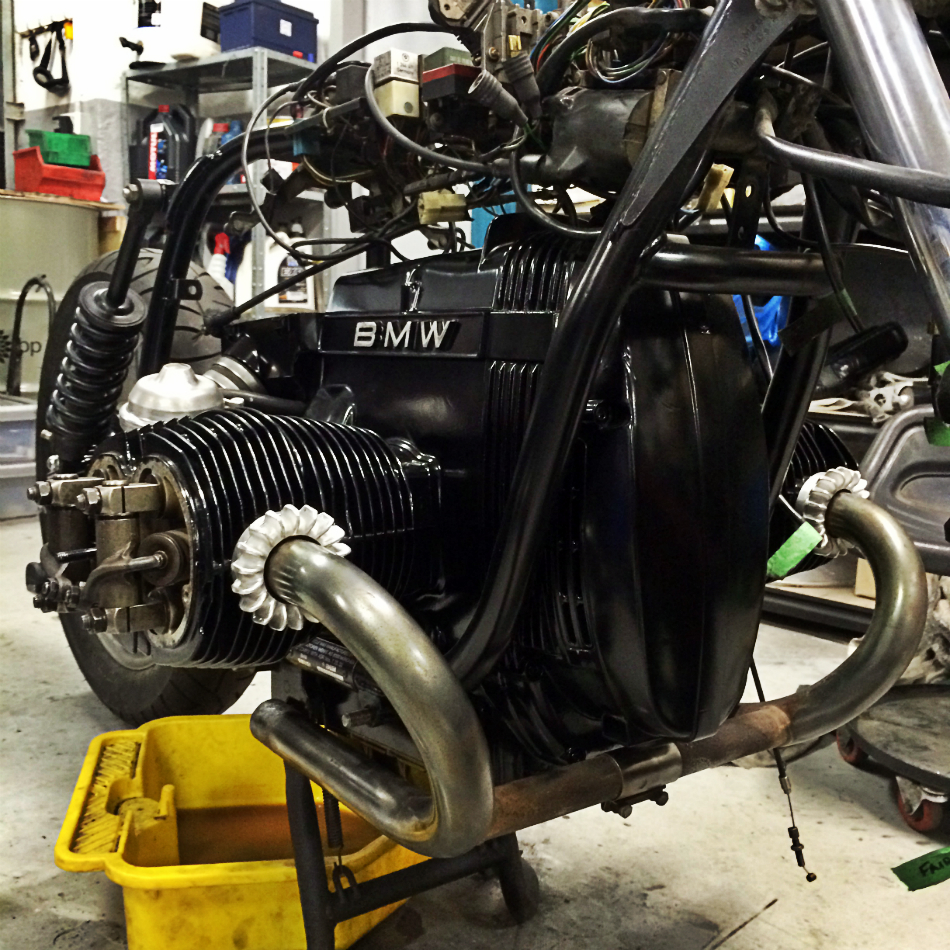
![Intake Valve Clearance [0.10mm]](http://findyourexit.com/wp-content/uploads/2014/06/Photo-12-06-2014-6-55-17-pm.png)
![Exhaust Valve Clearance [0.20mm]](http://findyourexit.com/wp-content/uploads/2014/06/Photo-12-06-2014-6-54-49-pm.png)
