
The last couple of weeks have been incredibly hard to document due to the vast range of small jobs that I’ve tackled to get the BMW R80 close to completion. In an effort to keep the project as well-documented as humanly possible, I’ve included an assortment of bits and pieces below. I’ve also formed up and included a list of items that I need to address prior to getting her registered.
I’ll pick an arbitrary starting point and rattle through the sections I have pictures for… Let’s start with the front brake setup.
I’ve gone ahead and had braided brake lines with copper guide piping made up at Warringah Brake & Clutch. The folks I dealt with there were incredibly knowledgeable and did an excellent job of making up the lines to the exact spec that I was after. The lines were ready in only a few hours and I had them installed later that day. They also provided me with bleed nipples to fit each caliper to complete my brake-line-crossover delete (for those who haven’t been following; I decided to re-work the front brake line situation by removing the crossover pipe so that I could accommodate the larger front wheel).

New Independant Braided Brake Lines w/Copper Piping
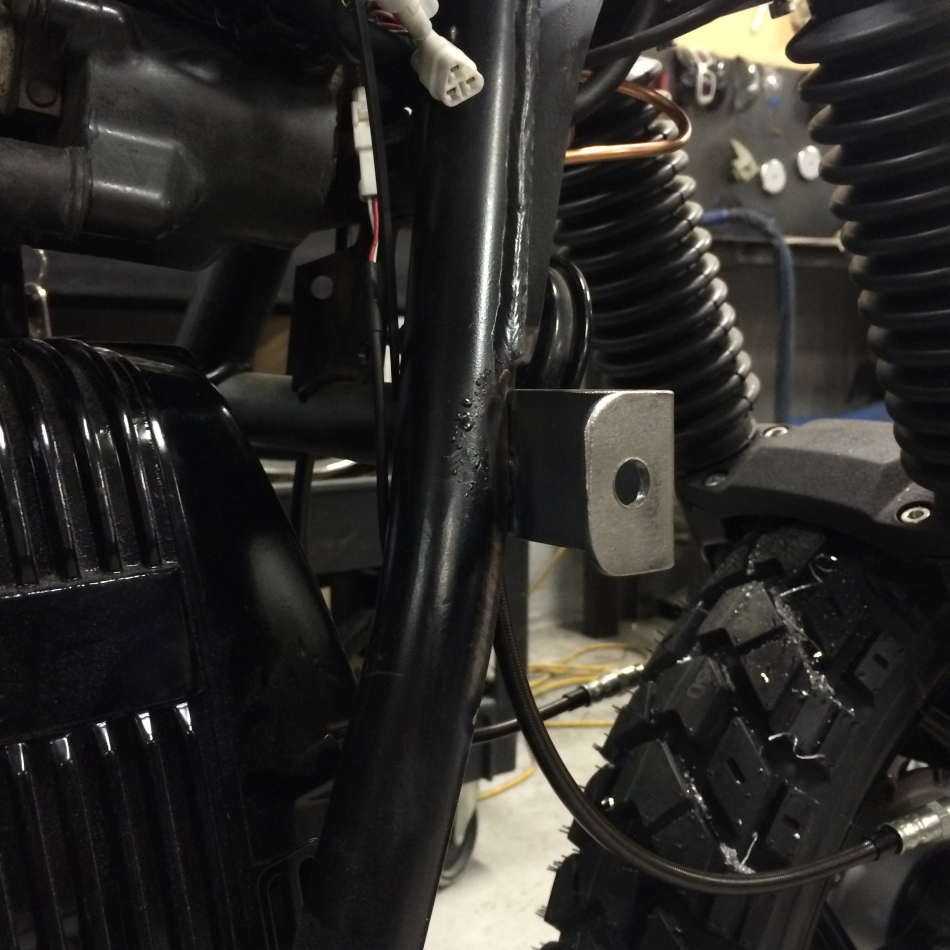
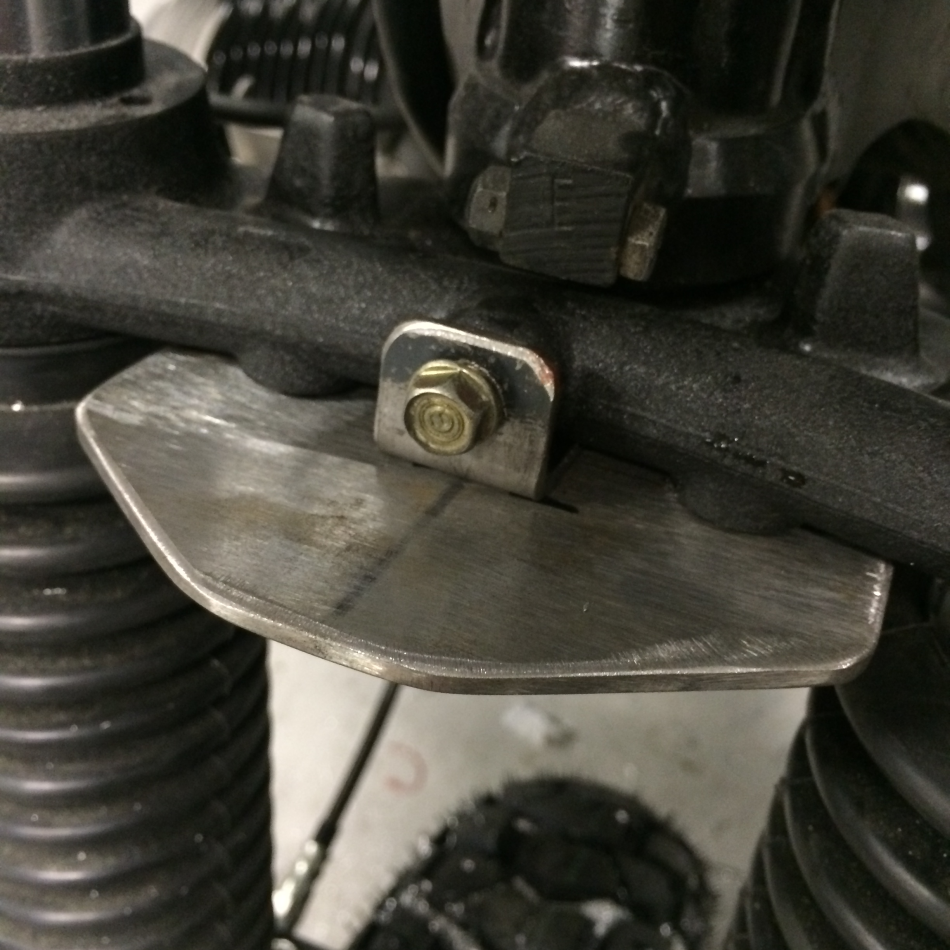
With the new brake lines in place, I fabricated two guides (one for each side) to prevent the copper pipes from touching the front wheel/tyre when at full lock. I used stainless steel flat bar for these and they turned out looking quite nice (I ended up painting them anyway).
-
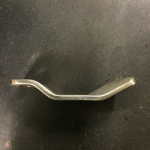
- Brake Line Guide [Side]
-

- Brake Line Guide [Top]
-

- Brake Line Guide
While working over the whole build, I’ve been replacing lunched fasteners and fittings with new/better pieces. An example would be the bevel-drive’s breather/filler cap below:

Replaced Bevel Drive Breather/Filler Cap
I’ve spent time fabricating mounting brackets and tabs as well as drilling mounting holes for all the lighting components on the motorcycle. This included indicator tabs, a headlight mounting bracket, and mounting holes in the seat pan for the tail light (pictured below).
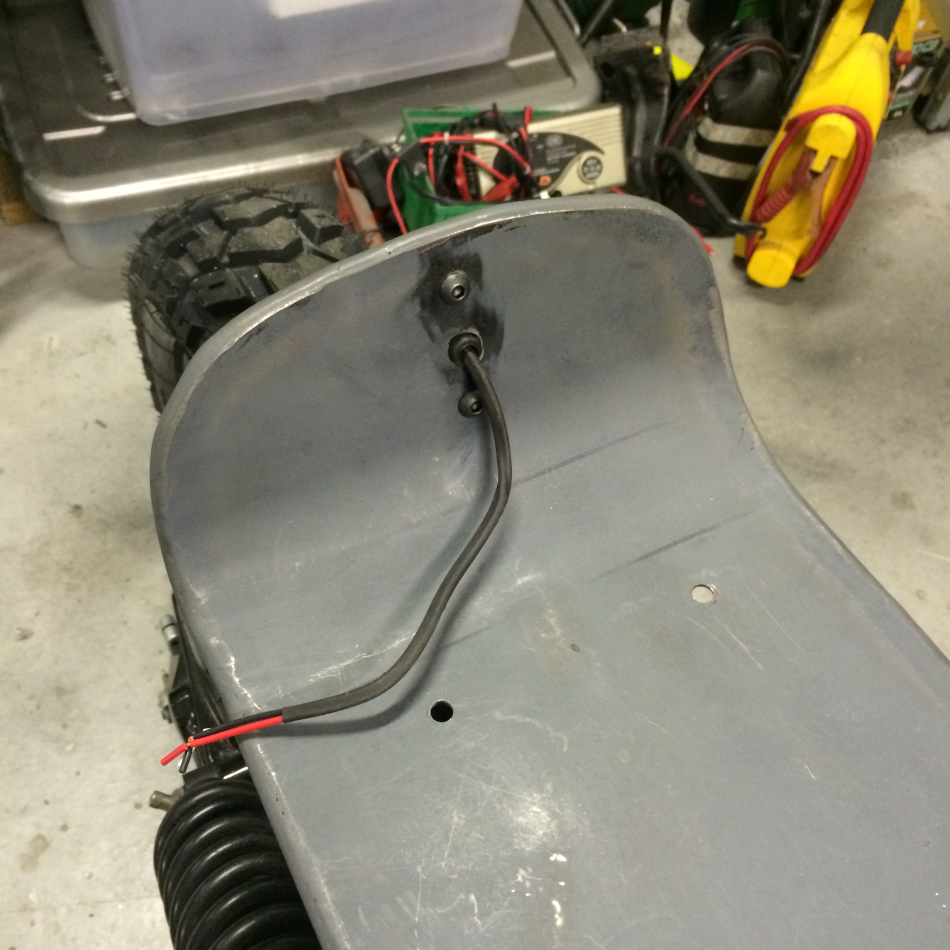
Tail Light Mountings

Tail Light Test-Fitted
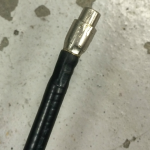
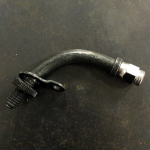
I managed to get through the control cable building side of things also. The clutch cable was a simple one, while the throttle cable required some creativity to accommodate the stock throttle cable splitter and source an appropriate Teflon lined throttle cable elbow.
-

- Complete Throttle Cable Outer
-

- Throttle Cable Elbow & Braided Outer
-
- Re-Used Throttle Fitting [Splitter Forward]
-

- Fitting Biltwell Whiskey Cable Fitting To Throttle Cable Elbow
-
- Biltwell Whiskey Fitting Connected To Throttle Cable Elbow
-

- Throttle Cable Elbow Screwed To Biltwell Whiskey Throttle Lower
-
- Throttle Cable Splitter
-
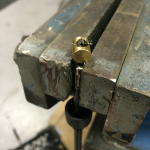
- Soldering Up Clutch Cable Nipple
The tank has been prepared and painted with its black base coat. The final paint layout will involve rubbing back a German military grey to reveal some of this black, so I decided to get a start on this over the weekend. I hope to get the Bundesadler sticker back from Kyle at Smith Concepts tomorrow so that I can position it and get the grey coat of paint done!
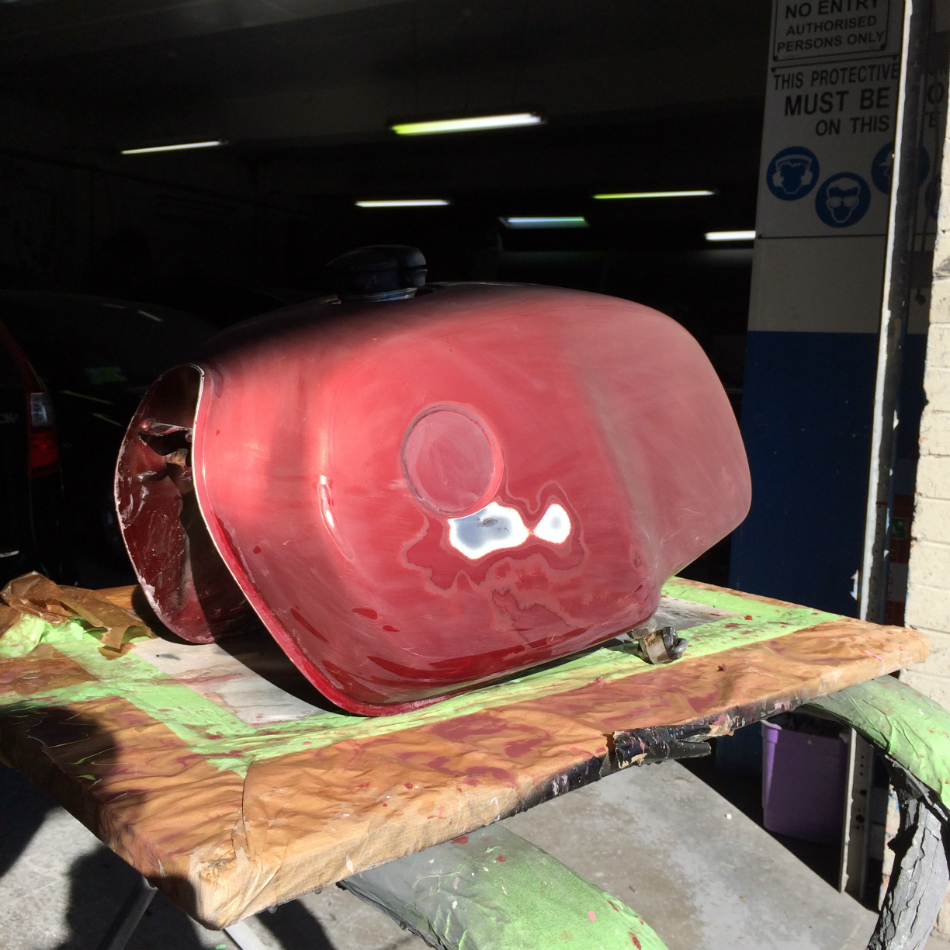
Tank Prepared For Paint
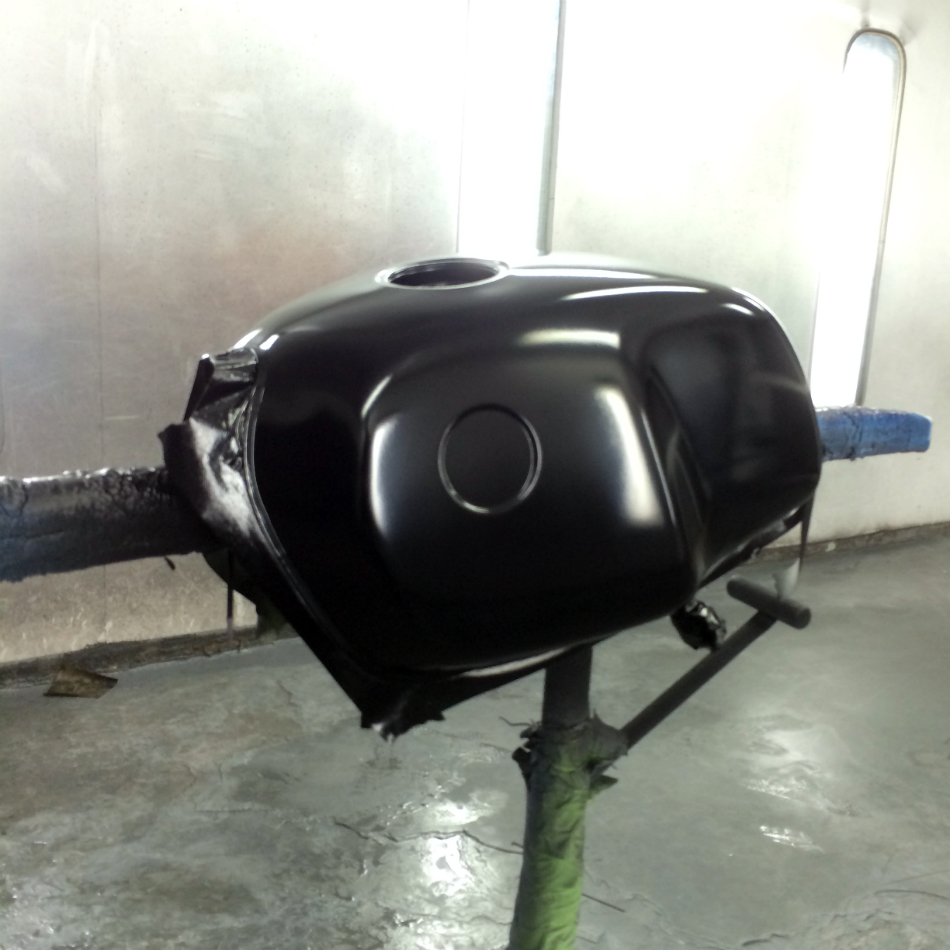
Tank Immediately After Black Base Coat
I spent some time cutting and shaping indicator tabs and a headlight bracket. I then had some help welding them to the frame (since my welding looks like poo). The headlight bracket required me to tap holes in the stock triple-clamp lowers. Fortunately there were three locations on the triple-clamp that seemed almost as if they were designed for it.
Front Right Indicator Tab
Headlight Mounting Bracket
A simple battery box of sorts came with my new AGM battery so I fabricated some tabs for this also.

Battery Box With Welded Tabs
I’ve gone ahead and painted up all frame sections and tabs as well as the seat pan so that the whole frame is tied in. This enabled me to start positioning things in their permanent locations.
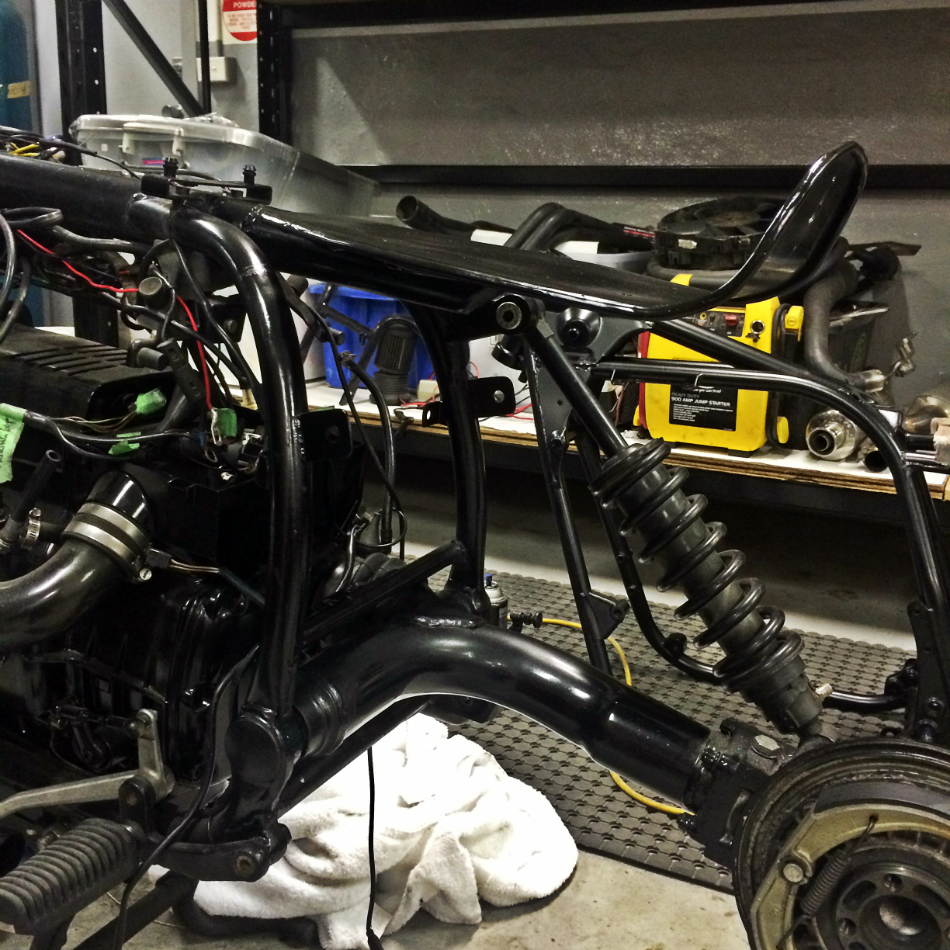
Painted Up Seat Pan & New Indicator Tabs
I did a bit more painting and got to fulfilling other line items before calling it a successful weekend. The list of final items as it stands following this weekend’s work looks like this:
| TASK | STATUS |
|---|---|
| Fill bevel drive oil. | Done |
| Fit new bevel drive filler bolt. | Done |
| Cut tab directly behind (at the bottom of battery mounting). | Done |
| Drill tail light holes in seat pan. | Done |
| Finish new throttle cable. | Done |
| Create and fit new clutch cable. | Done |
| Install grips. | Done |
| Weld rear indicator tabs. | Done |
| Mount rear brake light actuator. | |
| Position ignition assembly beside right thigh. | |
| Replace sump bolts with stainless equivalents. | Done |
| Remove exhaust crossover if necessary. | |
| Fabricate front brake line guides. | Done |
| Prime and paint front brake line guides | Done |
| Prime and paint headlight mounting bracket. | Done |
| Prime and paint seat pan. | Done |
| Prime and paint battery box. | Done |
| Prime and paint front and rear indicator tabs. | Done |
| Prime and paint detabbed frame section directly behind battery box. | Done |
| Paint top of battery. | Done |
| Prepare and paint tank. | Base coat done, awaiting Bundesadler decal |
| Mount tail light and wire up. | Mounted, not wired |
| Ball-end hammer a channel into underside of seat for tail light wiring and bolts. | |
| Wire up headlight. | Mounted, not wired |
| Install all four indicators/wire up. | Mounted, not wired |
| Deal with generator light/delete if easier. | |
| Remove centre-stand. | |
| Work on mounting mufflers. | |
| Mount sidestand. | Waiting on muffler installation |
| Replace master cylinder reservoir tubing. | Done |
| Install battery. | Done |
| Refit air filter and airbox top. | Done |
| Fill fork oil. | |
| Fill brake fluid. | Done |
| Rear guard/hugger. | |
| Licence plate mounting. | Waiting on rear guard/hugger |
| Ensure all wiring/cabling is securely zip-tied in appropriate ways. | |
| Tighten all loosely fitted bolts. | |
| Ensure any final wiring is plugged in/accounted for. |
There’ll likely be a bunch more items that will crop up once this list has been completed, however the completion of this list should mark the build’s point of becoming a “registerable” motorcycle.
Thanks for reading! Just to give you a sneak preview… Here’s how she stands today:
![Nearing Completion [Front]](http://findyourexit.com/wp-content/uploads/2014/07/Photo-26-07-2014-6-15-06-pm.png)
Nearing Completion [Front]
![Nearing Completion [Side]](http://findyourexit.com/wp-content/uploads/2014/07/Photo-26-07-2014-6-15-26-pm.png)
Nearing Completion [Side]