
A lot currently hinges on the delivery of my MotorWorks order from the UK. The delivery contains all the parts needed to bring my R80 motor back to fighting fit:
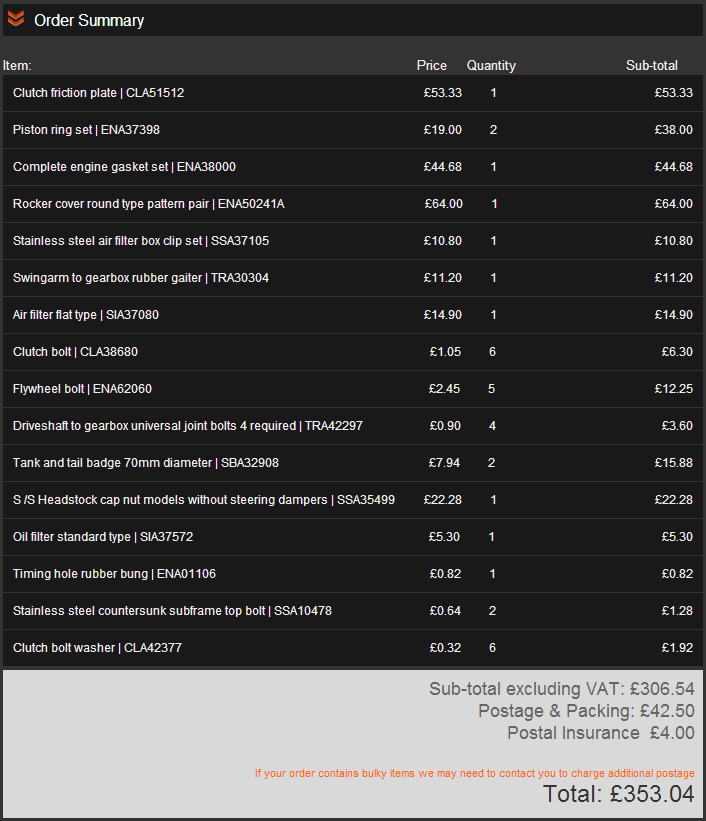
MotorWorks Order
While I wait for this dirty great big order to land on my doorstep, I’ve busied myself with preparing other parts for the eventual rebuild. Starting small, I began by cleaning up the handlebar risers (thanking Sam for painting them up while I persisted with sand-blasting other parts):
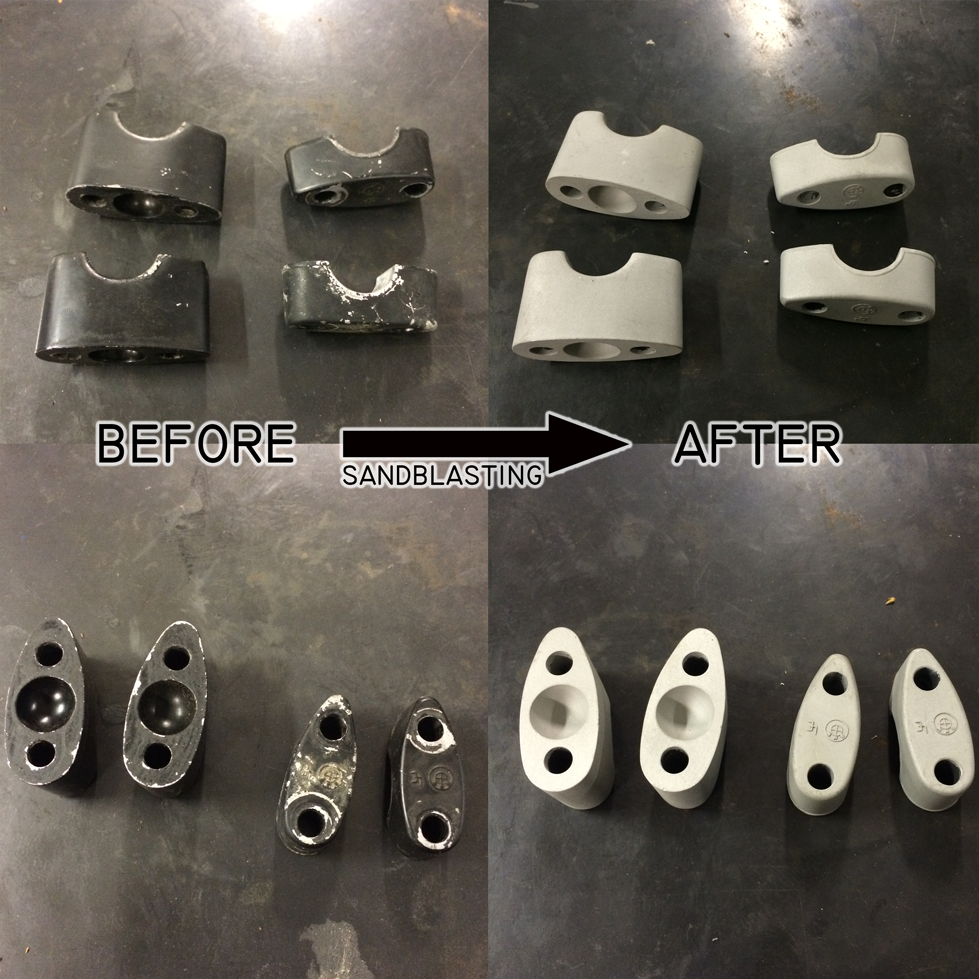
Risers Sandblasted
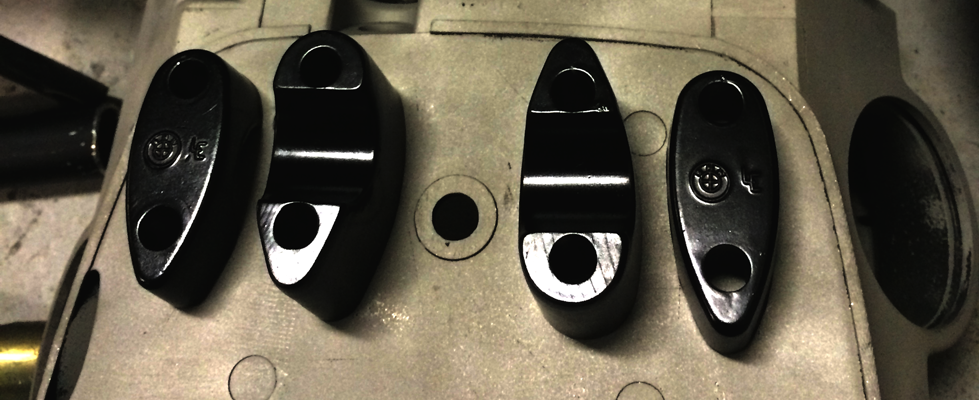
Risers Painted
Sand blasting, and painting or polishing as necessary; I proceeded with getting the exhaust header rose-nuts removed. Easy one would think… Certainly not the case this time! I began with a calculated approach, utilising an oily rag and multi-grips to attempt to free the rose-nut that had seemingly been sitting idle for the past three decades. My calculated approach soon turned to aggression, and before long I was crying with futility in the corner of the workshop. With nowhere else to turn, I called upon a mate (Luke) who’d had more than enough experience with swapping over a set of headers on his BMW R90/6. He soon came to the rescue with a BMW specialty tool purpose built for loosening and removing rose-nuts of this kind. Utilising this rose-nut removal tool (and with minimal effort) the rose-nuts were freed, and removed.
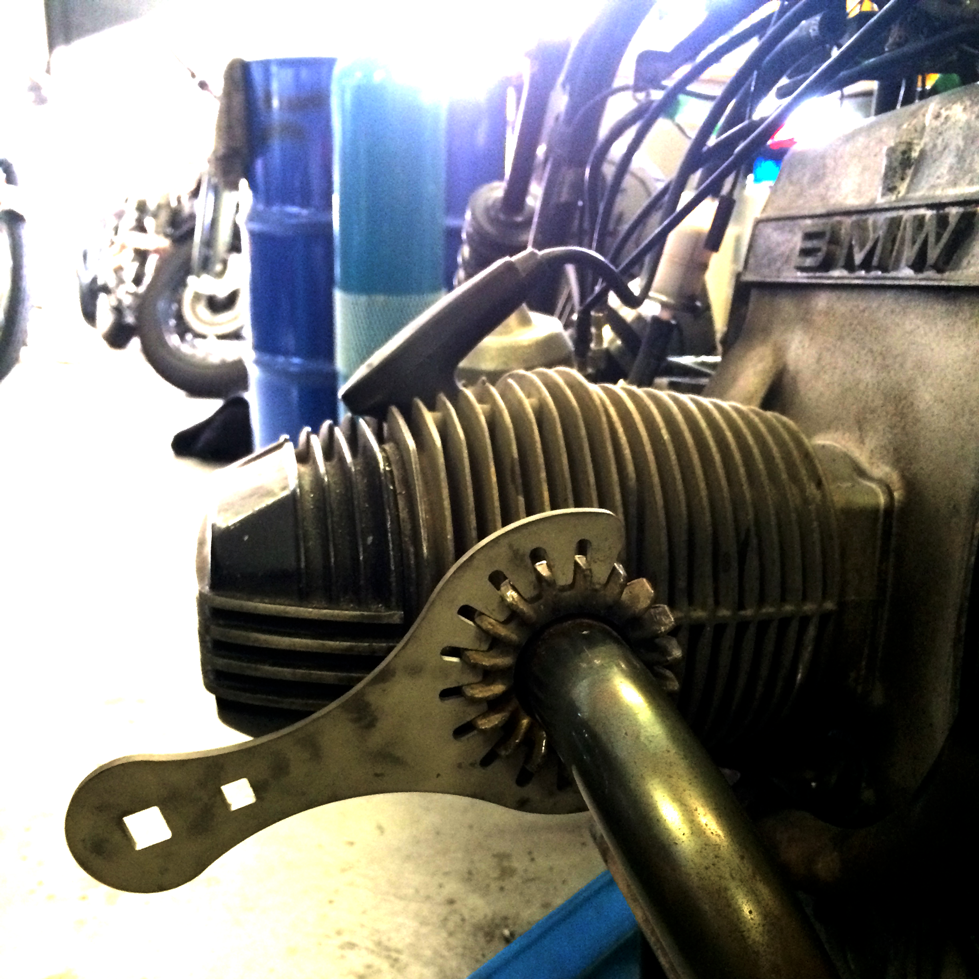
Rose-Nut Removal
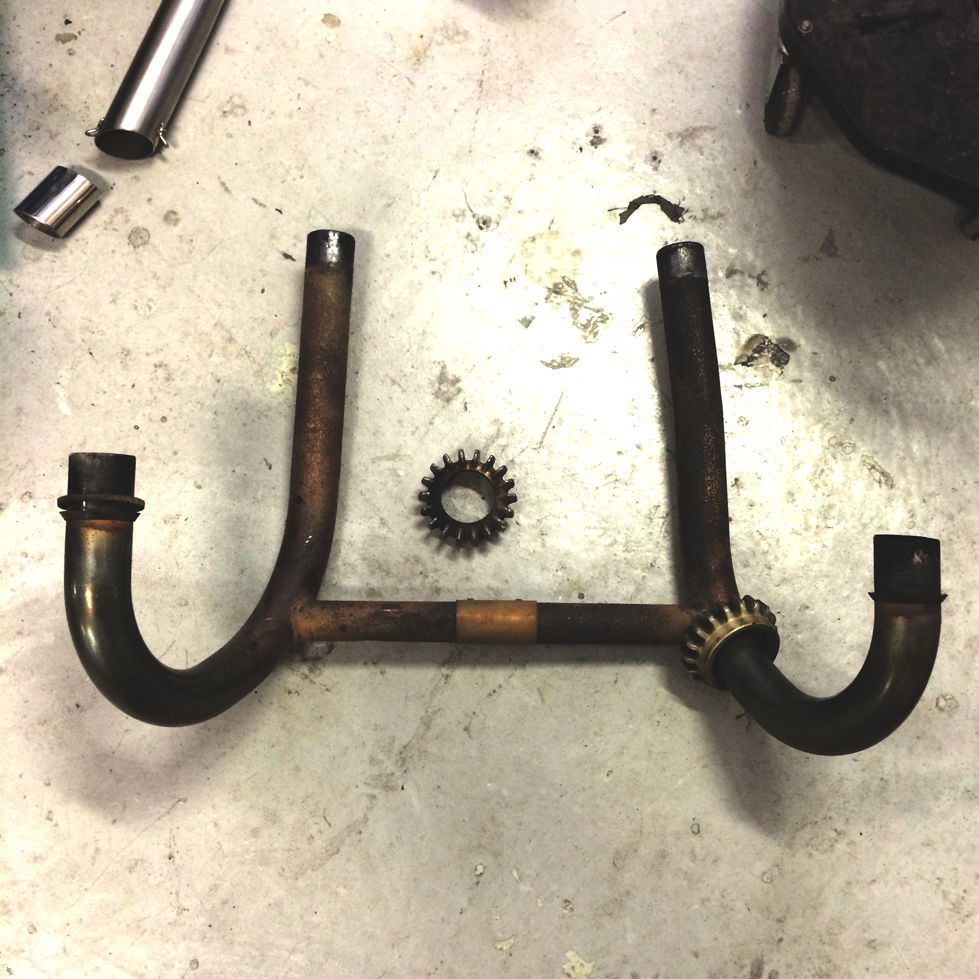
Headers Off
With the headers removed, and rose-nuts liberated, I got to tidying them up; sandblasted and wire-wheeled:
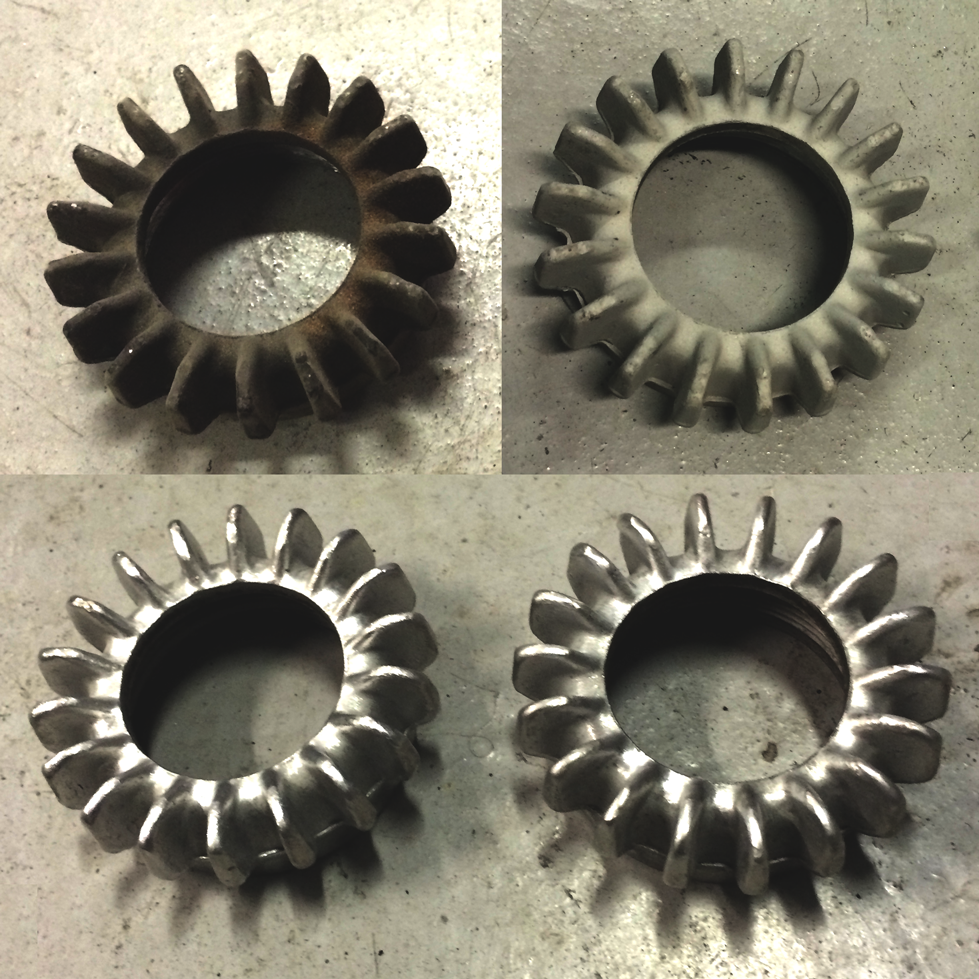
Rose-Nut Rejuvenation
I also got a start on the alternator cover (note: Sam’s alternator cover cupping ability):
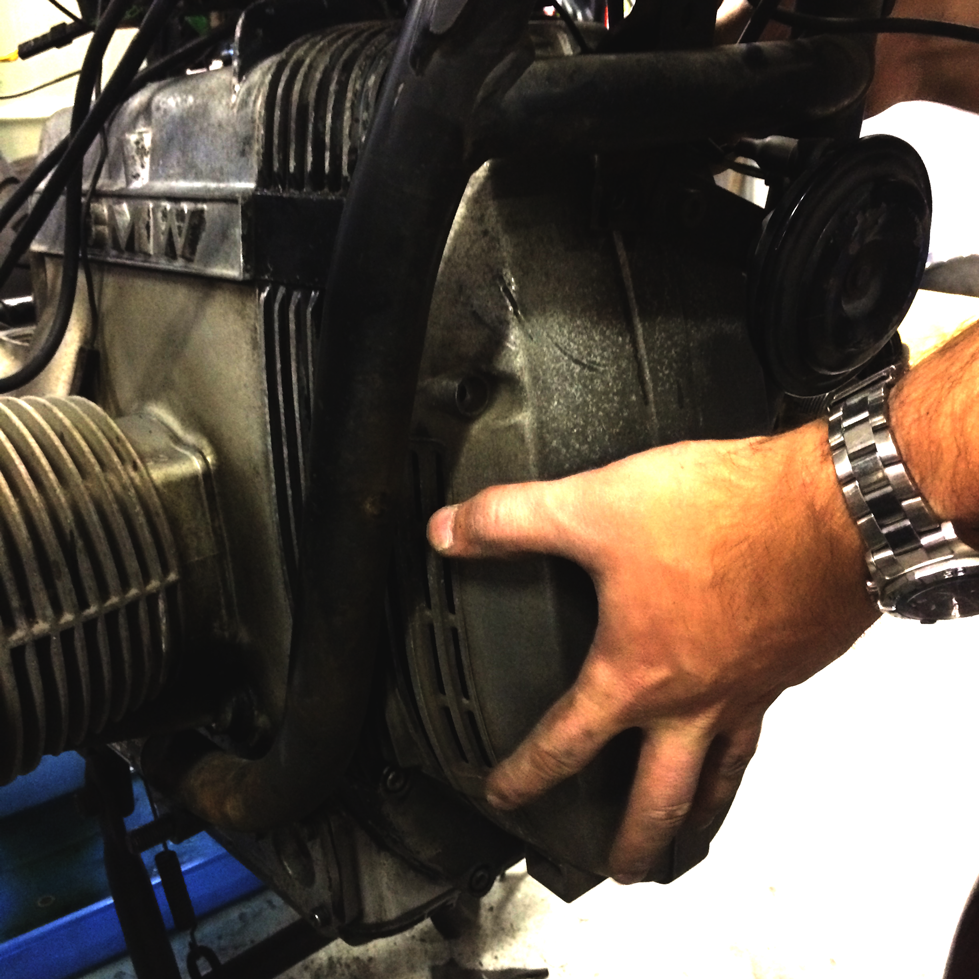
Alternator Cover Removal

Alternator Cover (Before Sandblasting)

Alternator Cover (After A Quick Sandblast)
With the alternator cover stripped back a bit, it’s now ready for paint. I’m looking at doing a complete satin black coat on this cover to tie in with the satin black aesthetic I have in mind for the rest of the motor. My intention is to highlight aspects of the final design with stainless steel and polished metal.
Among other things, I’ve polished up most of the exterior of the carburetors, although I’ve still got to work out what to do with the carburetor top badges and chokes.
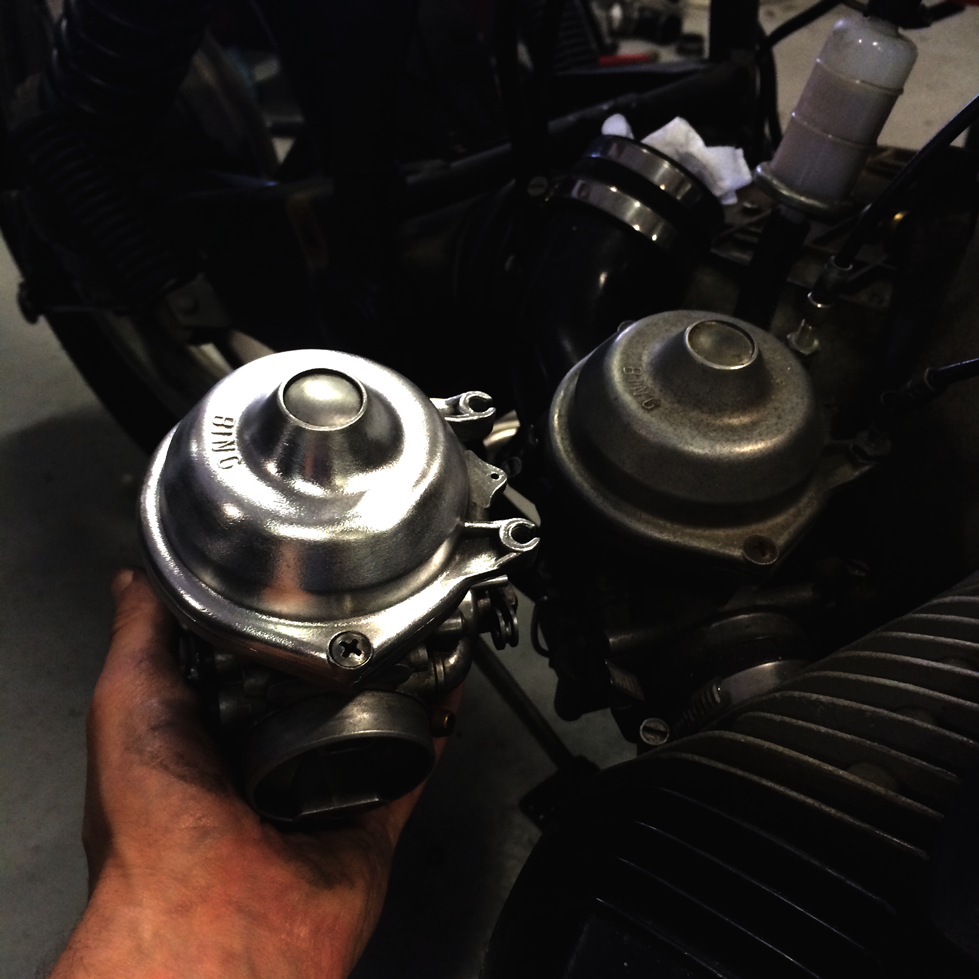
Carburetor Comparison
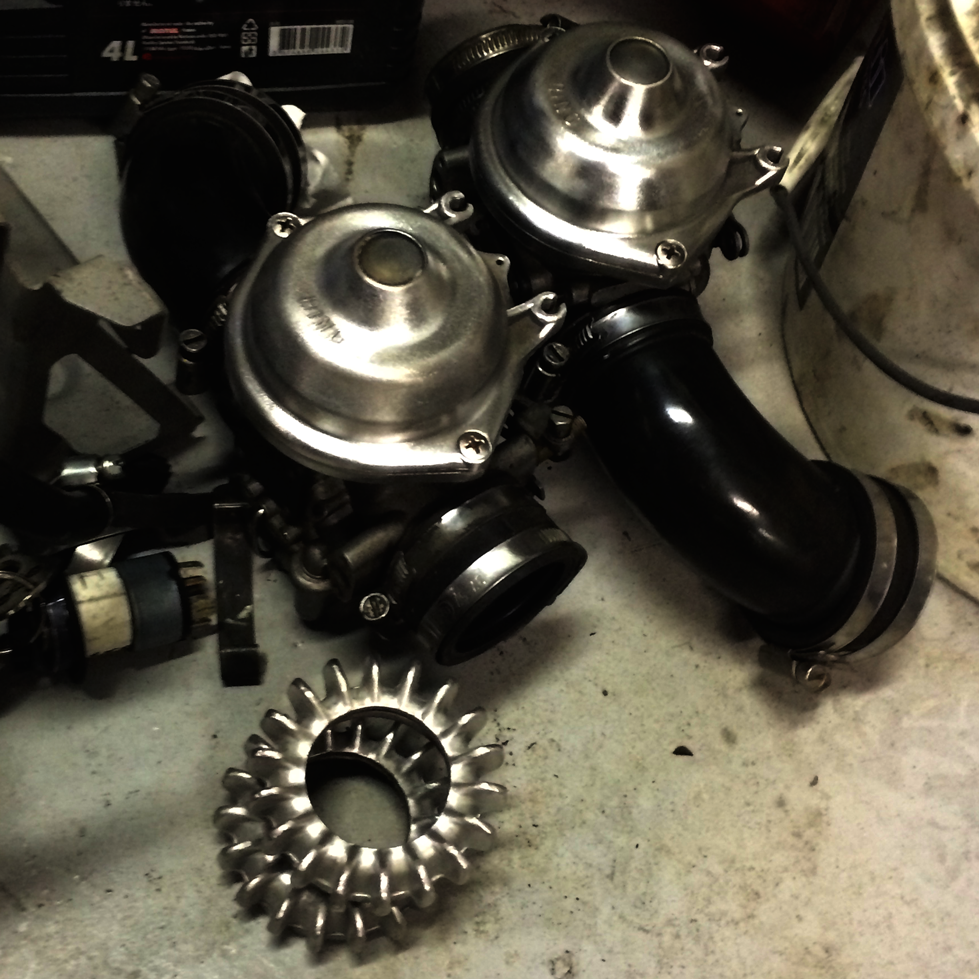
Polished Carburetors
The order from MotorWorks should arrive this week, so I’ll undoubtedly be posting some progress shots of the motor rebuild throughout.
Thanks for reading!